Introduction
The new advanced Webflow: Localization feature, natively integrated into the Designer, lets you localize your Webflow sites and easily manage different language versions from the Designer interface.
In the previous article, we saw how to activate the feature, configure the basic language and install additional languages.
In this article, we're going to take a more concrete approach and show you how to translate and manage the different localized versions of your site. Let's get started!
Prerequisite: activate Localization and add languages
If you want to localize your Webflow site, the first step is to activate the localization feature and add the languages you want to translate. We've already written an article on this subject, so if you haven't already, check it out for a step-by-step guide on how to enable localization on your site.
See Webflow Localization: how to activate it to translate your site
Once you've activated Localization on your Webflow site, you'll be able to easily translate and manage localized versions of your site. Let's see how:
Understanding Localization's interface and operation
To fully understand how localization works in Webflow, it's essential to understand the principle of the Locale view in the Designer and the inheritance principle for each language.
1. Local view
The Local view lets you see your Webflow site through the eyes of your international visitors, allowing you to :
- Select language: Once you've activated localization and added languages to your project, you can use the Local view to select and display in the Designer the language you wish to customize. Simply select a language and you'll instantly enter that language's mode.
- Language-specific customization: When you switch to a specific local language, all elements of your site are instantly displayed in that language. This includes text, images, buttons, etc. You can then make changes specific to that language without affecting other versions.
- Preview in real time: The Locale view lets you preview your site in real time in the selected language, which means you can see exactly what your visitors will see, making it easier to adjust design and content to meet their expectations.
2.Locales default content
Now that the Locale view principle has been integrated, it's essential to understand how default content interacts with local languages.
The localization system works in cascade, in the same way as the breakpoints system. In Webflow, when you make changes on the largest screen size (desktop), these changes are applied downwards to the smallest screen sizes (tablets and mobile). On the other hand, if you make changes on a smaller screen size (mobile), these changes only apply to that size, without going back beyond the breakpoint for that screen size.
It works in a similar way to Localization: when you make changes to the base version of your site, they apply downwards to all versions . On the other hand, when you make changes to a specific version, these changes apply only to that version, without affecting the base version or other versions.
For example, if you have a French site (main language) and you add an English version, all elements not customized in English will use French content by default (until you modify them specifically for the English version).
Navigate between language versions
Once you've set up several languages, you can easily switch between them using the Locale view. Select the desired language in the language selector and your site will instantly be displayed in that language.

The Locale view then allows you to easily customize each language of your site, directly from the Webflow Designer. In the following sections of this article, we'll explore in detail the customization of content, media, styles and much more for each language you've activated.
How to translate page content
Now that you've mastered the Locale view, it's time to dive into the process of localizing (or translating) your site. Whether you want to customize text, images, styles or anything else, the principle remains the same:
1. Select a language version
To begin, select a language version in the Locale view, for example, the English version. Once you've switched to this version, any changes you make will affect only that specific version.
2. Translate
There are two ways to translate page content:
- Translate each text manually,
- Translate the whole page (or a section of the page) at once.
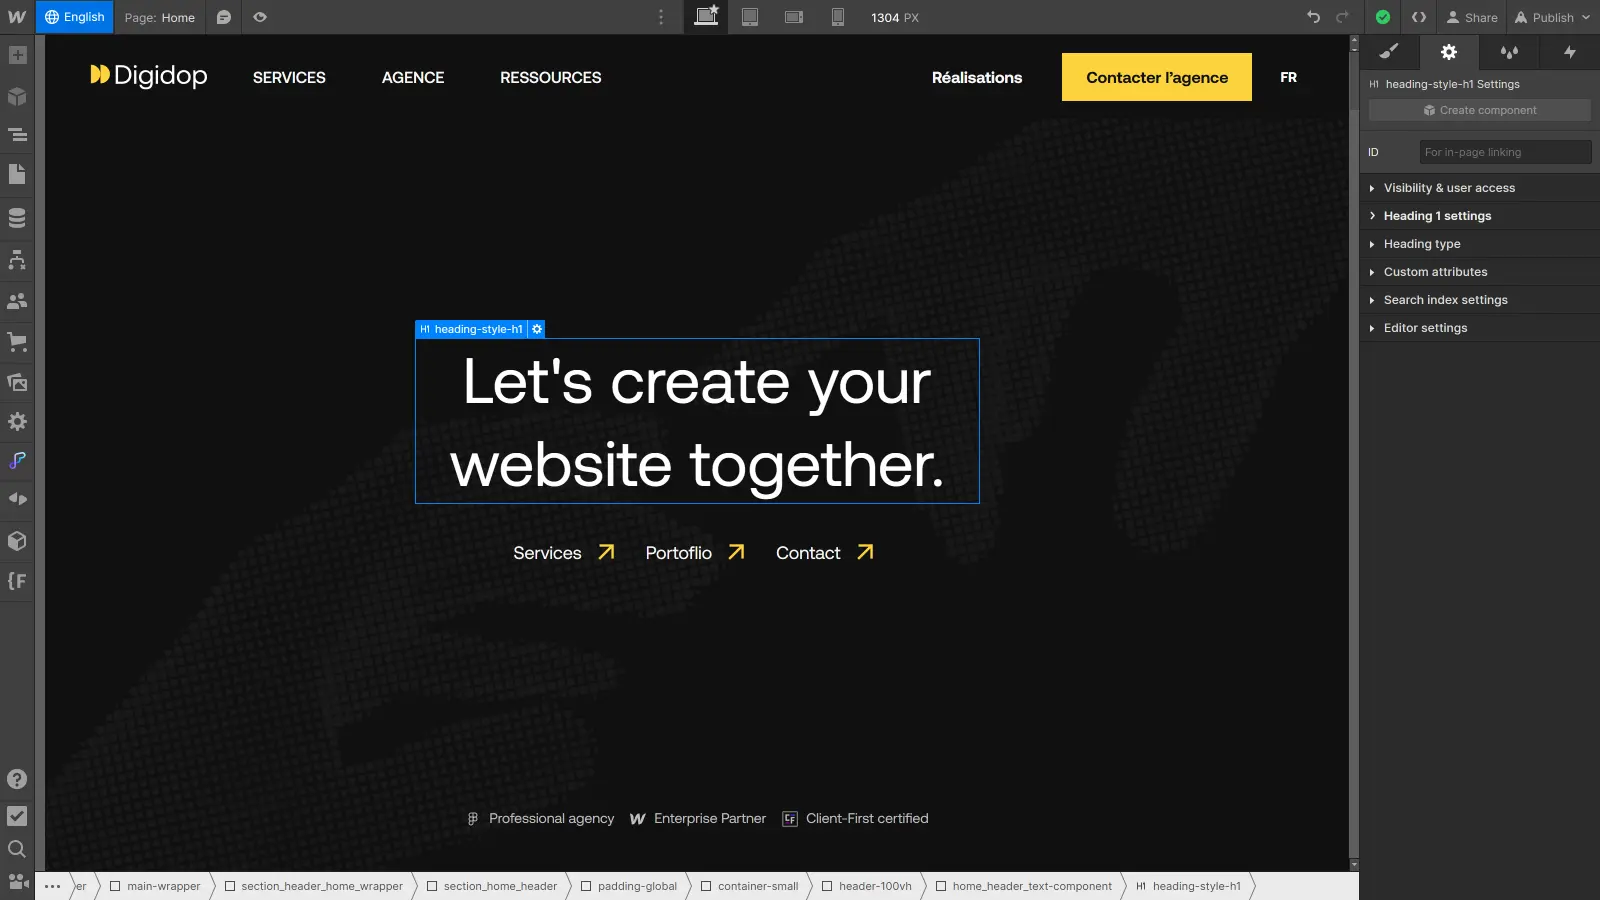
To translate text manually: simply select the text element and change its content as you would in any other situation.
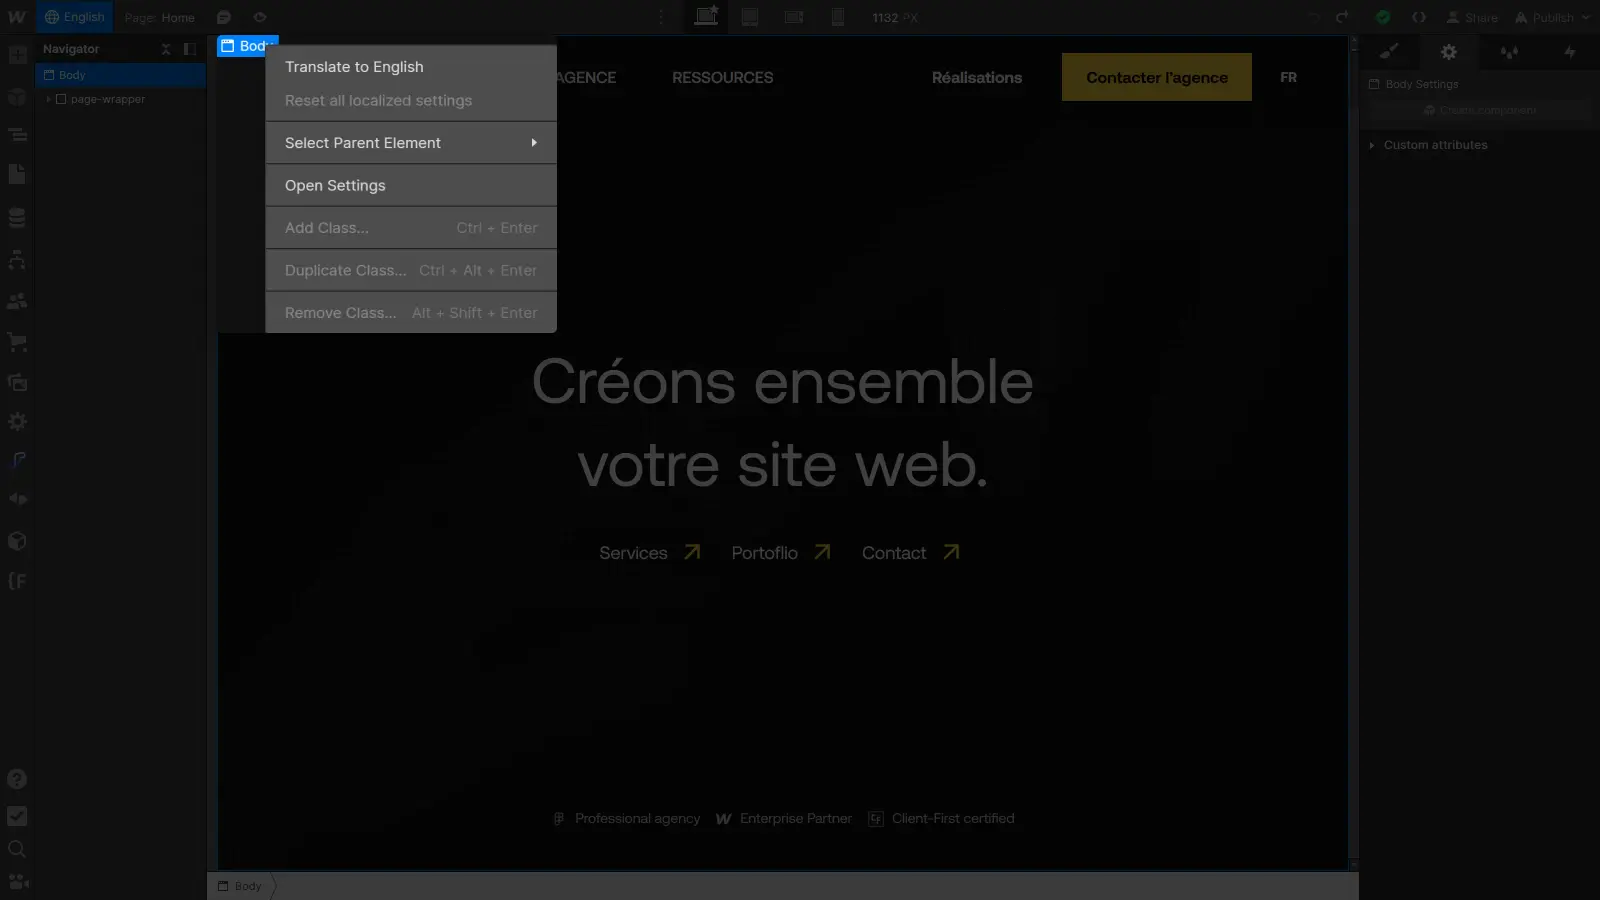
To translate the whole page at once: select the Body element in the browser, then right-click on the blue label that appears in the Designer. You'll now see a "Translate to English" option, allowing you to translate the entire content of the Body element. You can perform the same operation on any element to translate a specific section.
In just a few clicks, your page is translated into the selected version, and you can preview the design live from the Webflow Designer and make any necessary adjustments just as quickly.
How to translate a component
Now that you know how to translate the content of your pages, let's take a look at the components.
If you translate your entire page by selecting the Body element, the components present on the page will only be translated on one condition: if you have created properties for them. For example, if you have a text property for a small call-to-action component.
In this case, the component will be translated as an instance, specific to this page. In other words, the same component present on other pages will not be translated.
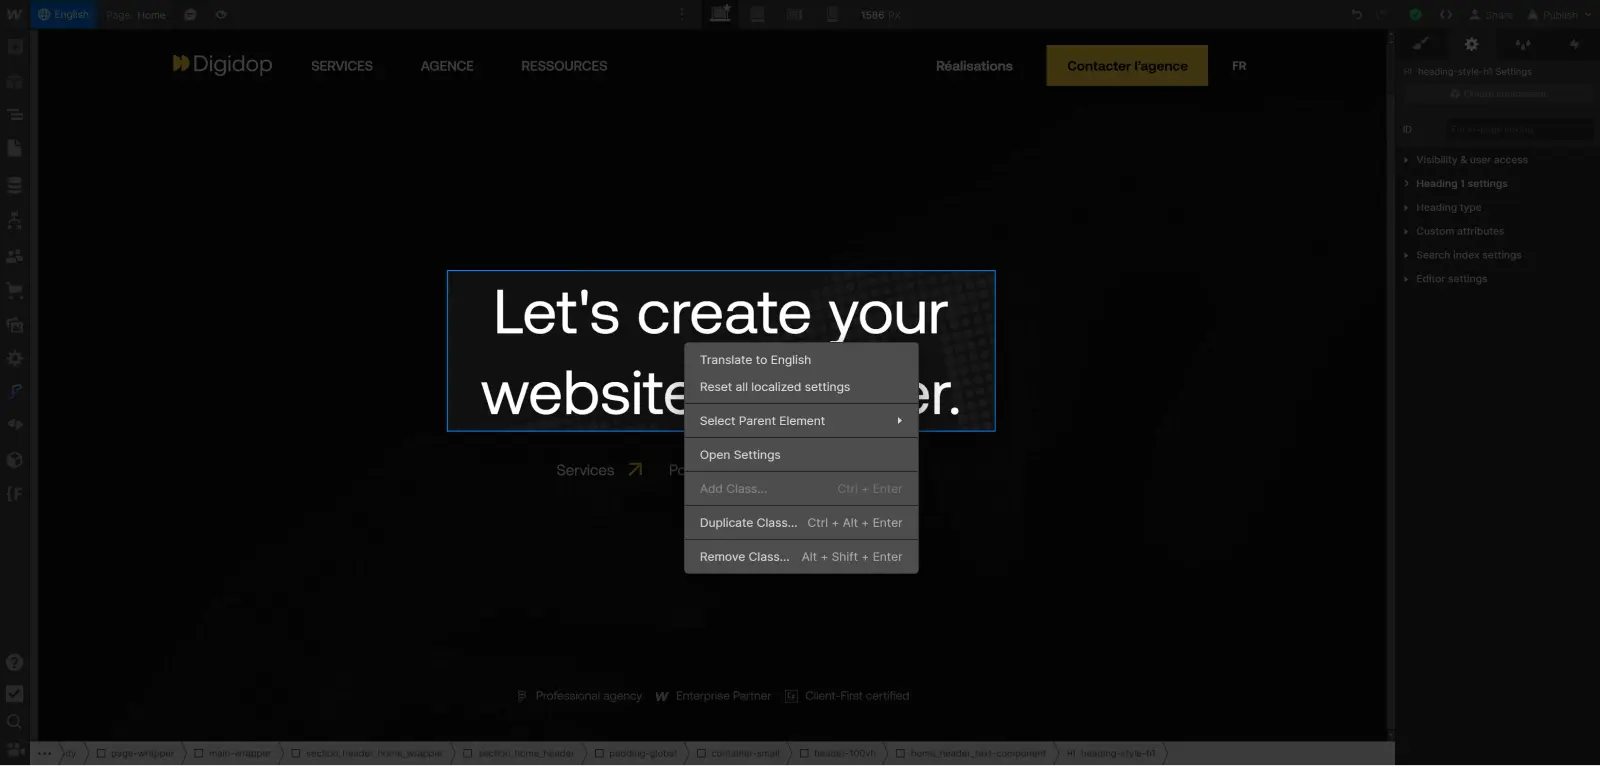
To translate the global version of the component, and not create an instance, here's how to do it:
- Select the relevant component.
- Right-click on the blue label that appears in the Designer.
- Click on Translate.
If you prefer to translate it manually, you can simply open it and edit the content as you normally would.
How to find out which items have been located (and reset them)
Once you've started localizing the content of your site in different languages, it can be useful to know what has already been localized and, if necessary, how to reset an element to its basic version. Here's how to do it:
Identify what has been located
To find out which elements have been localized on a page, start by accessing the relevant version : make sure you're in the Local view of the language you want to check.
Then pull down the Browser. You'll see all the elements on the page. Elements that have been localized will have a globe icon next to them, allowing you to quickly identify which elements have been customized for the current language.

Reset localized items
If you have localized an element and wish to reset it so that it inherits the content of the main language again, follow these steps:
- Select the element and right-click.
- Select "Reset all localized setting" to reset the element to its basic version.
Please note that resetting an item will only affect that item in the current language. Other languages will not be affected, and each language can have its own elements localized and reset to suit your needs.
Conclusion
Congratulations, you've translated your first content with Webflow Localization!
Localization with Webflow opens up new possibilities for reaching and engaging with an international audience. By following the steps outlined in this article, you now have the keys to effectively translating and managing the various localized versions of your Webflow site.
But translating textual content is only the first and most obvious step. You can go even further and localize a whole host of things: translate the CMS, translate page parameters, adapt the design and much more.
The next step is now to localize your page settings to guarantee high-performance SEO in all languages.
To go further in managing your multilingual site with Webflow Localization, consult our ultimate guide on the subject :
Ready to take your website to the next level?
Improve your online visibility thanks to Digidop's experience, excellence and reactivity!


.webp)
.webp)

