Introduction
In today's web, the need to communicate with a global audience has become crucial for many. Translating your website into several languages is one of the most effective ways of reaching this global audience.
Webflow 's all-new advanced Localization feature, natively integrated into the Designer, lets you easily create and manage different language versions of your Webflow site, without having to juggle with third-party tools.
In this article, we'll start by showing you how to activate Localization on your Webflow site and how to add new languages to offer an ever richer and more personalized user experience to your audience.
Get ready to discover the all-new Webflow Localization feature. We're off!
How to activate Webflow Localization
Activating Webflow Localization is very simple. Go to your project's Designer and follow the steps below:
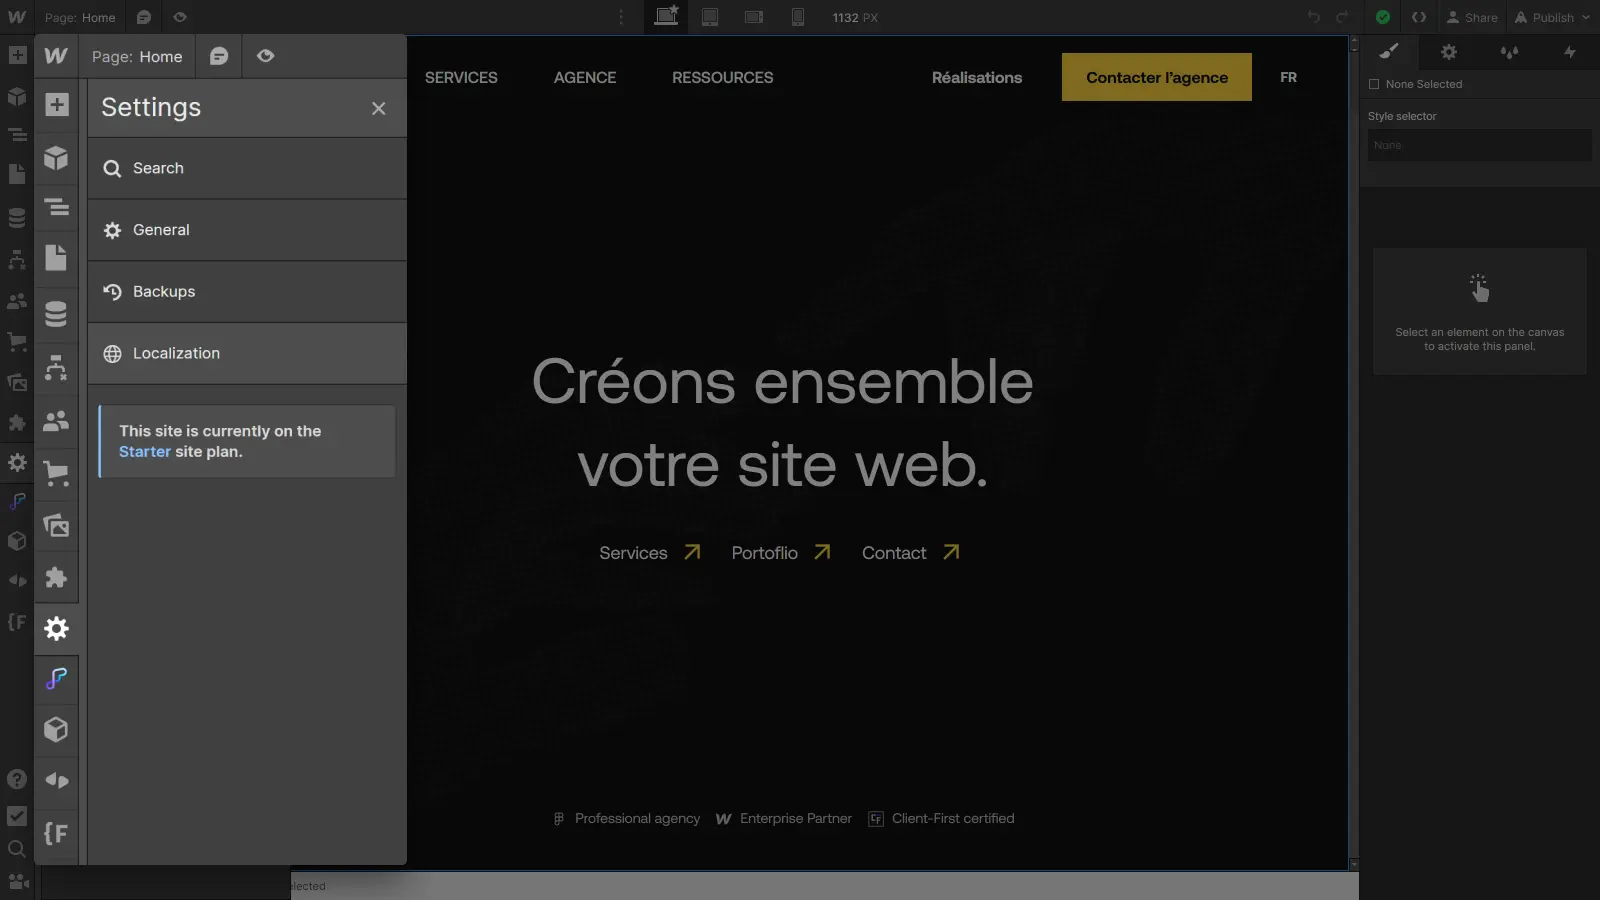
Step 1: Access project parameters
In Designer, click on the "Settings" icon in the left-hand sidebar to access your project configuration options.
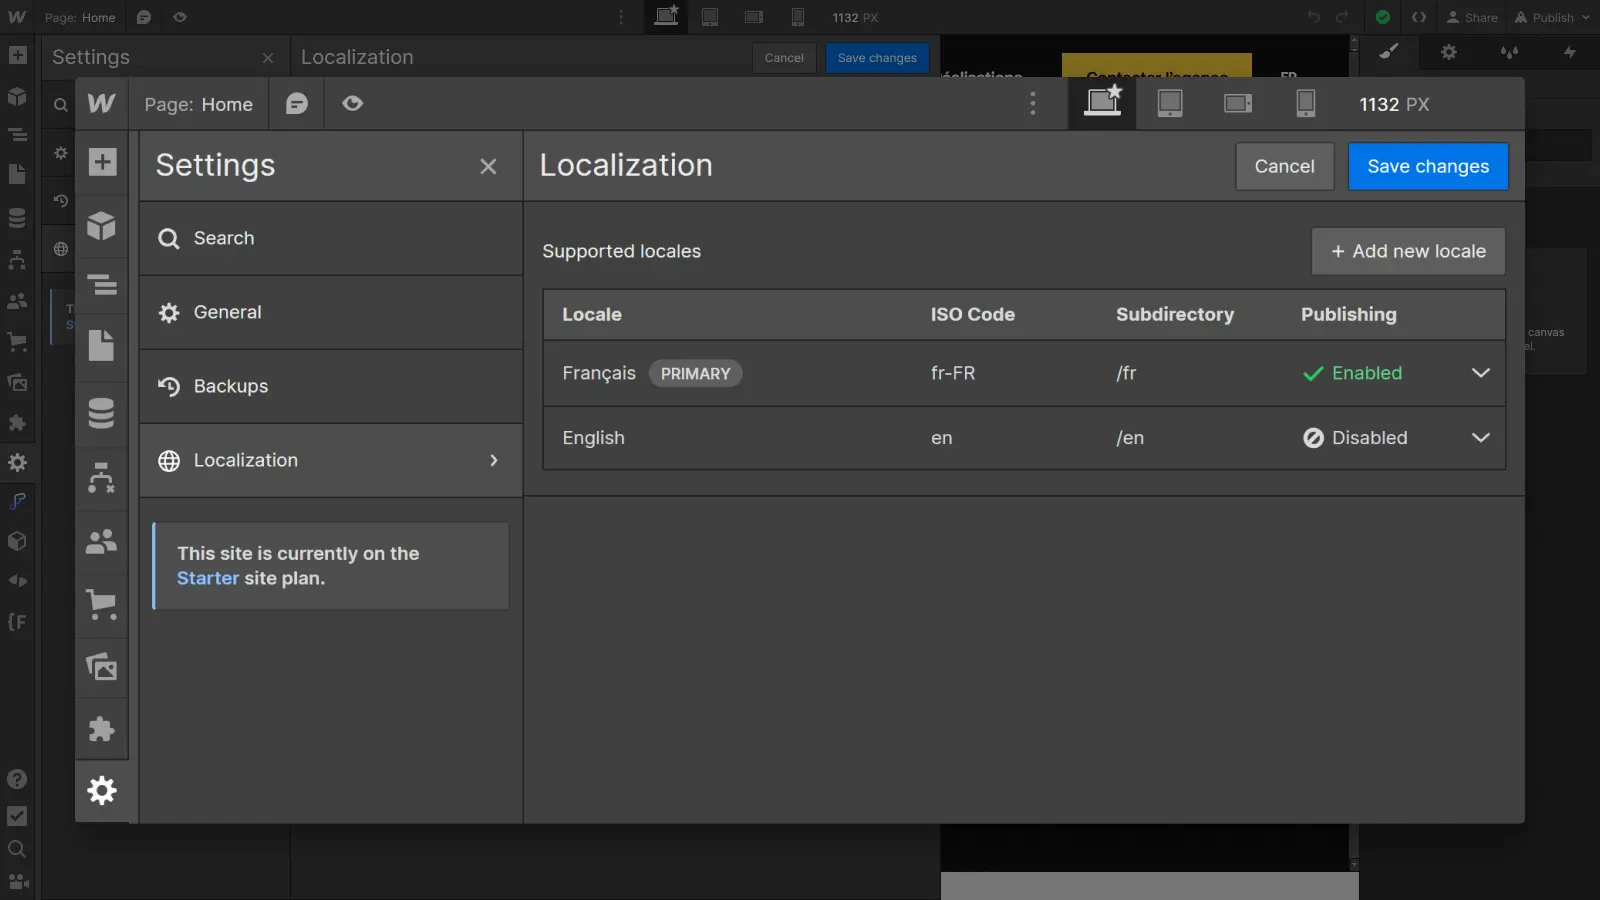
Step 2: Access Webflow Localization
In the project parameters, you'll now find a Localization tab. Click on this tab to open the feature parameters. You can now set the default (Local) language for your site and add the (Local) languages into which you wish to translate the project.
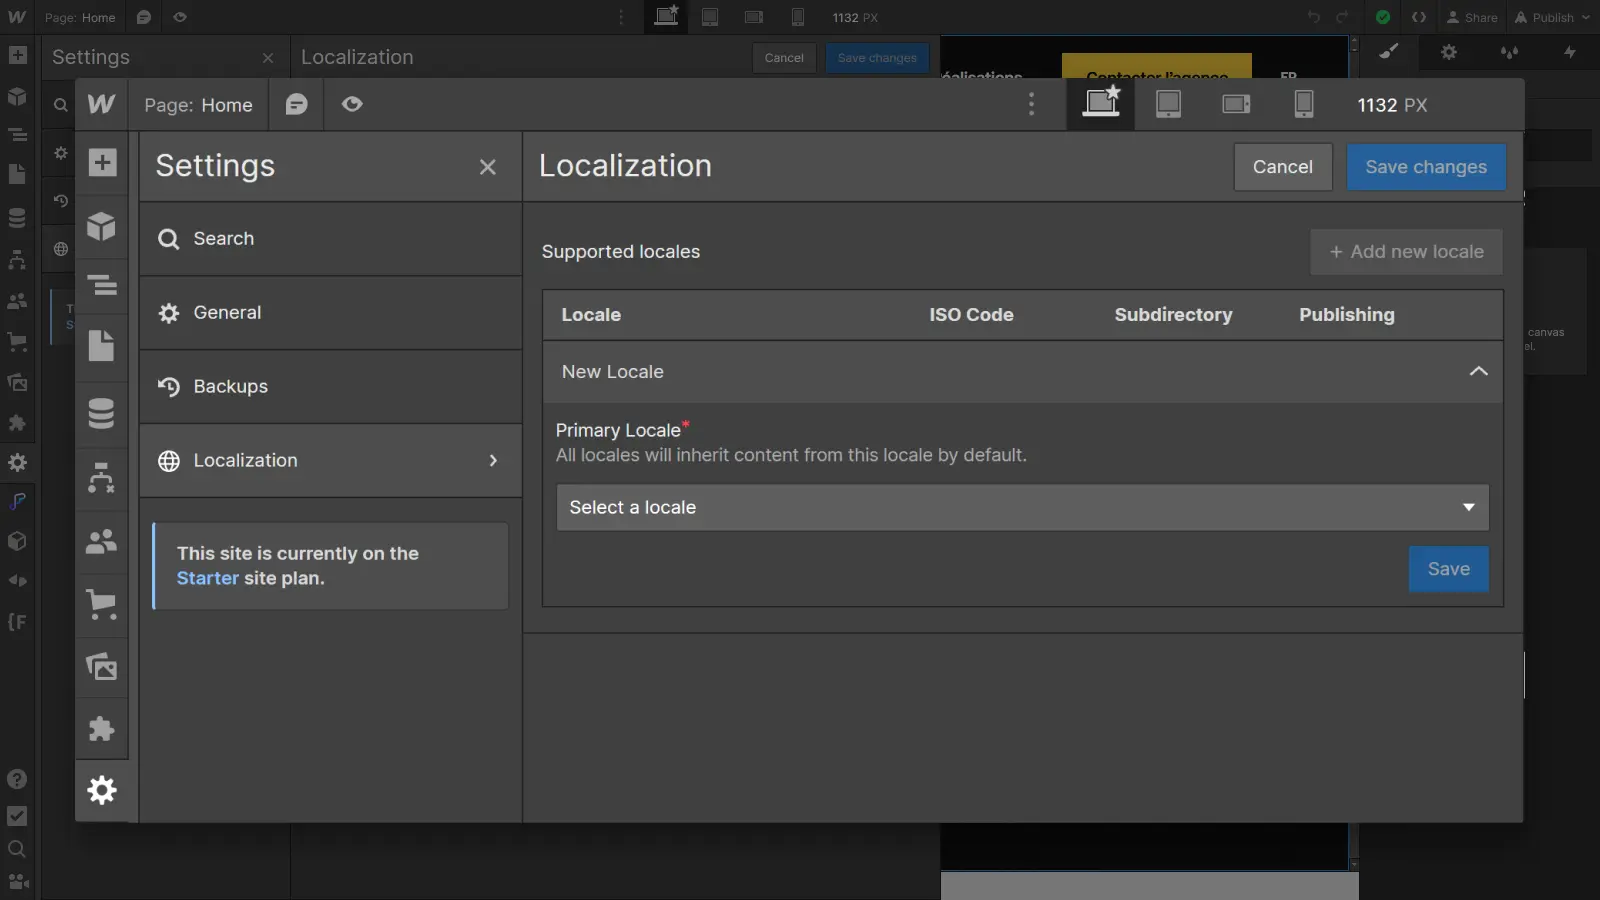
Step 3: Set your main language
To begin, select your default language (Primary Locale) from the drop-down list. This will be the language for the basic version of the site, the version on which all other languages (Locales) will be based.
The localization system works in cascade, rather like the breakpoints system. In Webflow, when you make changes on the largest screen size (desktop), these changes are applied downwards on the smallest screen sizes (tablets and mobile). On the other hand, if you make changes on a smaller screen size (mobile), these changes only apply to that size, without going back beyond the top breakpoint.
It works in a similar way to Localization: when you make changes to the base version, they apply downwards to all versions . On the other hand, when you make changes to a secondary version, they apply only to that version.
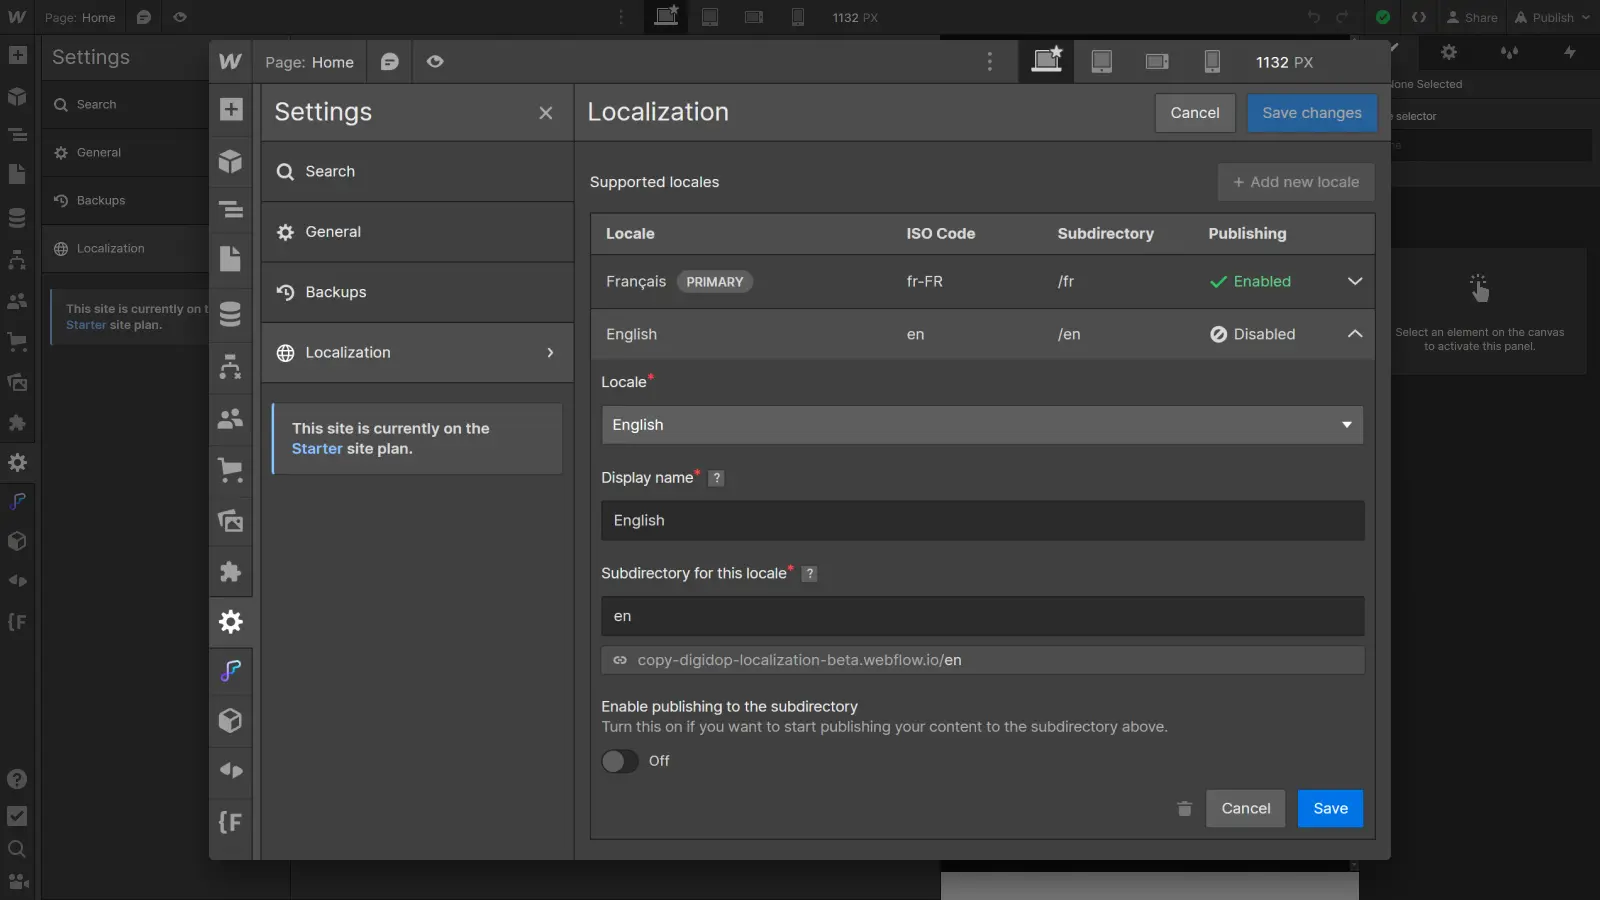
Step 4: Set your main language
Once selected, configure the language options:
- Display name: This is the name that will be displayed for this language in the language selector (example: French).
- Subdirectory for this locale: This is the URL of the subfolder, which will appear in the URL of every page in this version (example: digidop.fr/en/blog).
- Enable publishing for the subdirectory: This option determines whether or not the version will go online the next time the site is published, allowing you to take the time to fully localize each new version without running the risk of it being published before being finalized.

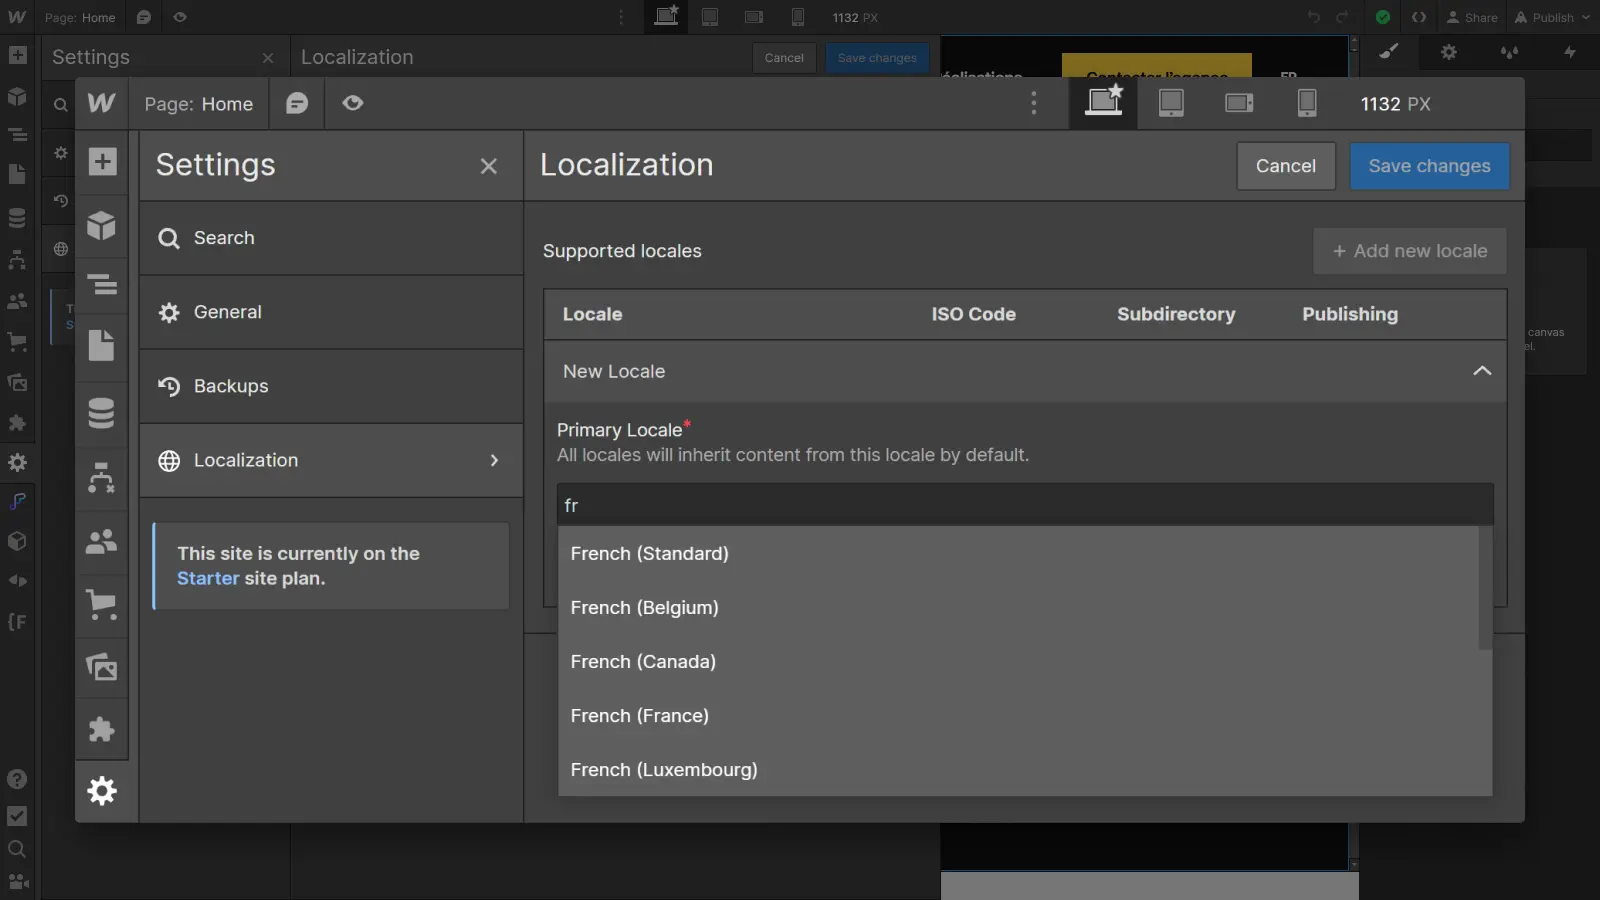
Step 5: Add new languages
To add new languages, simply click on "Add new locale".
A list of supported languages will appear: choose the new language you wish to include on your site and configure its options as in the previous step. Repeat the operation for any new languages you wish to add.
Step 6: Save changes
Finally, don't forget to save your localization settings by clicking on "Save changes" at the top of the Localization panel.
Congratulations! You've just activated Webflow Localization on your Webflow site.
Conclusion
This powerful new feature, natively integrated into the Designer, opens up new opportunities to create multilingual sites efficiently and easily. The first step in localizing your Webflow site is now complete! The next step is to localize every version of your site, starting with translation.
To go further in managing your multilingual website with Webflow Localization, consult our ultimate guide on the subject :
Ready to take your website to the next level?
Improve your online visibility thanks to Digidop's experience, excellence and reactivity!


.webp)
.webp)

