Summary ofthe article's key points.
- 3 ways to create Webflow animations: Javascript, CSS and GSAP
- If you want to animate your site and maintain great loading performance: CSS and GSAP animations are the preferred options.
- The majority of JavaScript animations - the most frequently used - can be replaced by CSS animations.
🎁 Webflow Tips: use the Webflow interface to quickly and error-free write CSS code for you . Then copy/paste it thanks to the CSS preview feature.
_________________________
Introduction
Webflow is a no-code tool renowned for its ability to create "wow" websites. This worldwide recognition is partly due to its animations and the frequent presence of Webflow-developed sites at Awwwards.
There are three main ways to create animations on the tool:
- JavaScript, using the interaction panel,
- CSS, using the different states in the style panel or adding custom code,
- GSAP, a subject we've already touched on in this previous article.
However, although we often talk about Webflow and its performance, we rarely discuss the impact of animations on website performance.
So → what are the best practices for reconciling animation and performance on your website?
In this article, we'll compare two methods of creating animations - JavaScript and CSS - to help you make the best choice.
CSS animation vs. JavaScript: a comparison
Performance, possibilities, difficulties...
What is CSS animation?
A CSS animation is a transition between two states of an HTML element, controlled by a CSS class. It is generally used for simple, light animations, such as color changes or hover effects.
To fully understand how to target and animate your CSS properties, I recommend you consult the CSS Selector Reference → CSS Selector Reference documentation.
What's a JavaScript animation?
On the other hand, a JavaScript animation is a more complex animation that can be controlled by JavaScript code. It is generally used for more detailed animations that require greater control and flexibility.
Advantages of using CSS animations :
- Light and fast: CSS animations are generally lighter and faster than JavaScript animations. This means they use fewer resources and can reduce page load times, improving your website's performance and user experience.
- Ease of creation and management: CSS animations are often easier to create and manage than JavaScript animations. This can make the development process more efficient and less error-prone.
- Webflow compatibility: If you use a tool like Webflow, CSS animations can be even easier to create. Webflow offers a visual "WYSIWYG" interface that lets you quickly write HTML and CSS code. This can make the animation creation process even faster and more intuitive.
In short, using CSS animations offers many advantages in terms of performance, efficiency and ease of use.
Create CSS or JavaScript animations with Webflow
Webflow makes it incredibly easy to create CSS and JavaScript animations. Directly from the Designer interface, you can use either the interaction panel to create JavaScript animations, or the style panel to create CSS animations.
CSS - Here's how to create a CSS animation on Webflow, step by step :
- Select a CSS class: Start by choosing the CSS class you wish to animate.
- Set a style with state 'None': Set the initial design of your element using state 'None'. This is the appearance your element will have before the animation is triggered.
- Define a second behavior/design in another state: Choose another state, such as 'hover', and define another design for this state. This is the appearance your element will have when the animation is triggered (for example, when the user hovers over the element with the mouse).
- Add a transition: If you want your animation to run more smoothly, add a transition. This will allow your element to move gradually from its initial state to its animated state, rather than changing instantaneously.

JavaScript - Here's how to create a JavaScript animation on Webflow, step by step :
- Select an element, section or CSS class: Start by choosing the element, section or CSS class you wish to animate. JavaScript animations can be applied to a wide variety of elements.
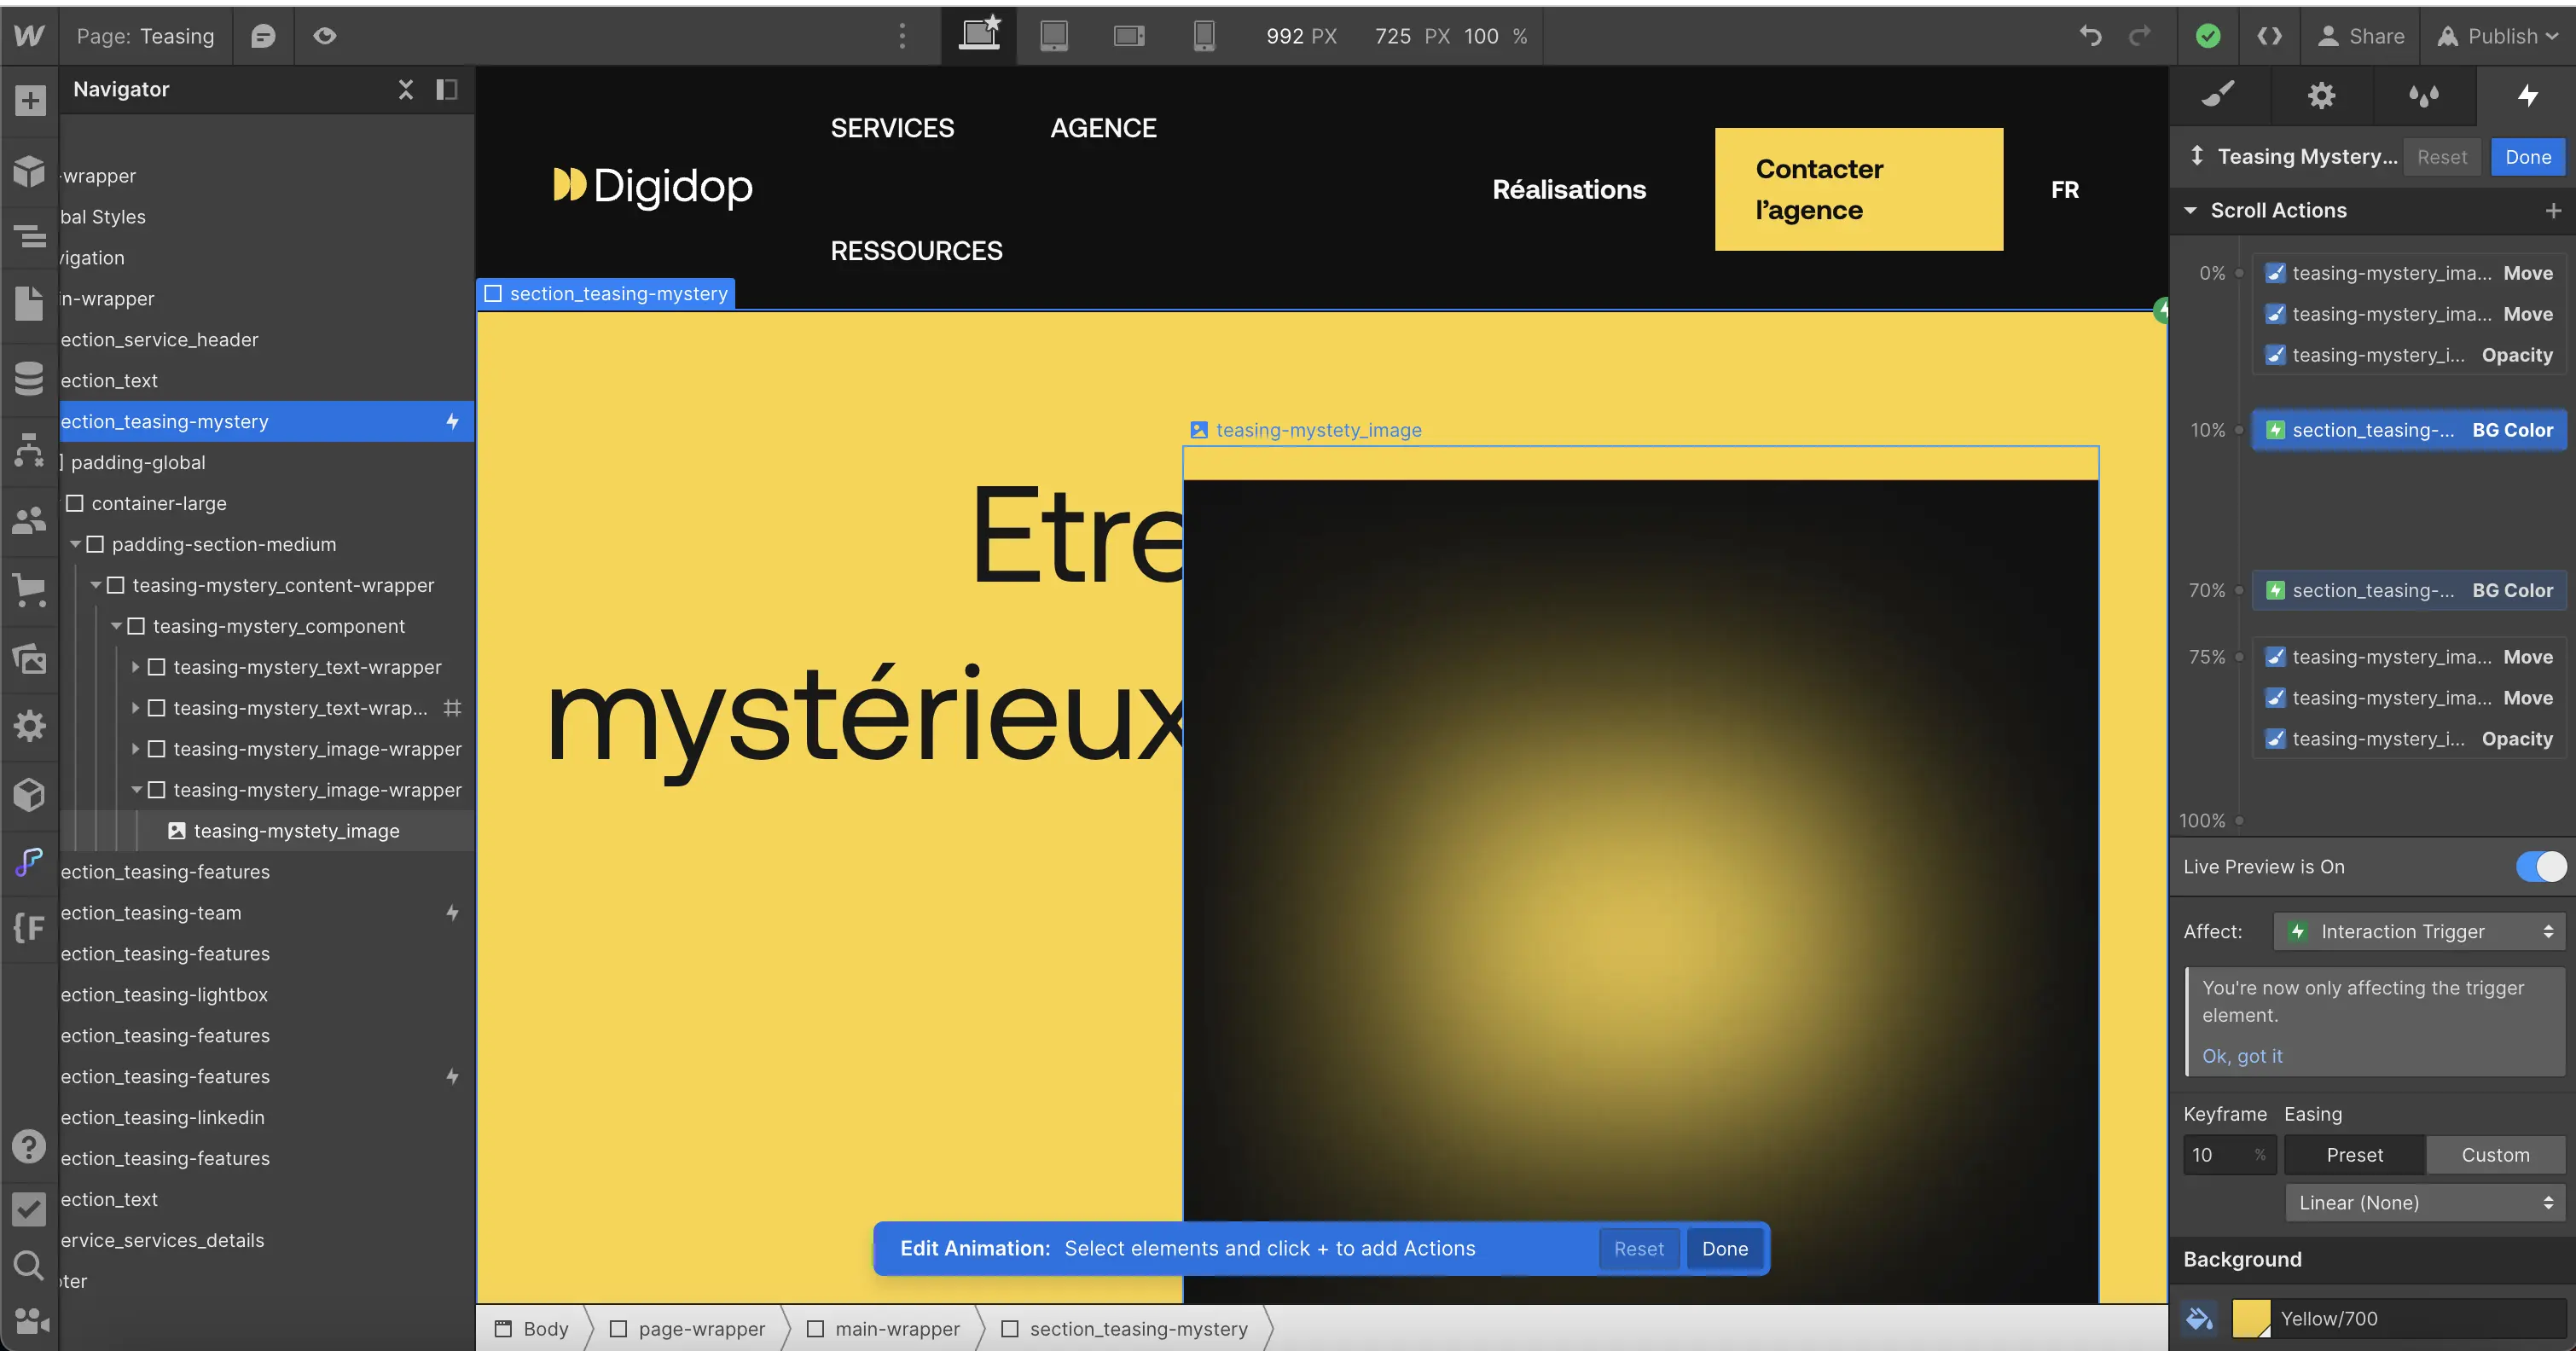
- Choose a trigger: Triggers are events that trigger animation. Webflow offers a variety of triggers, including mouse interaction, scroll, page load, and more.
- Define animations: Once you've chosen a trigger, you can start defining your animations. You can choose from a variety of animations, including movements, rotations, opacities and more. You can also define animation duration, delays and other parameters.
- Add animation steps: For more complex animations, you can add multiple animation steps. Each step can have its own animations and parameters.
- Test your animation: Once you've defined your animation, be sure to test it to make sure it works as intended. You can adjust the animation parameters and triggers as required.
Butthen... Js or CSS for Webflow animations?
Generally speaking, even if it sometimes requires writing and injecting custom code into your Webflow project, I strongly recommend favoring CSS animations. After that, do it smart 🤓.
Use Webflow's visual interface as a tool to facilitate and speed up the implementation of CSS animations. Here are a few tips to follow 👇
Pro tips: using webflow as a coding assistant with CSS Preview
One of the great advantages of Webflow is its ability to generate CSS code for you. This can save you a lot of time and mistakes.
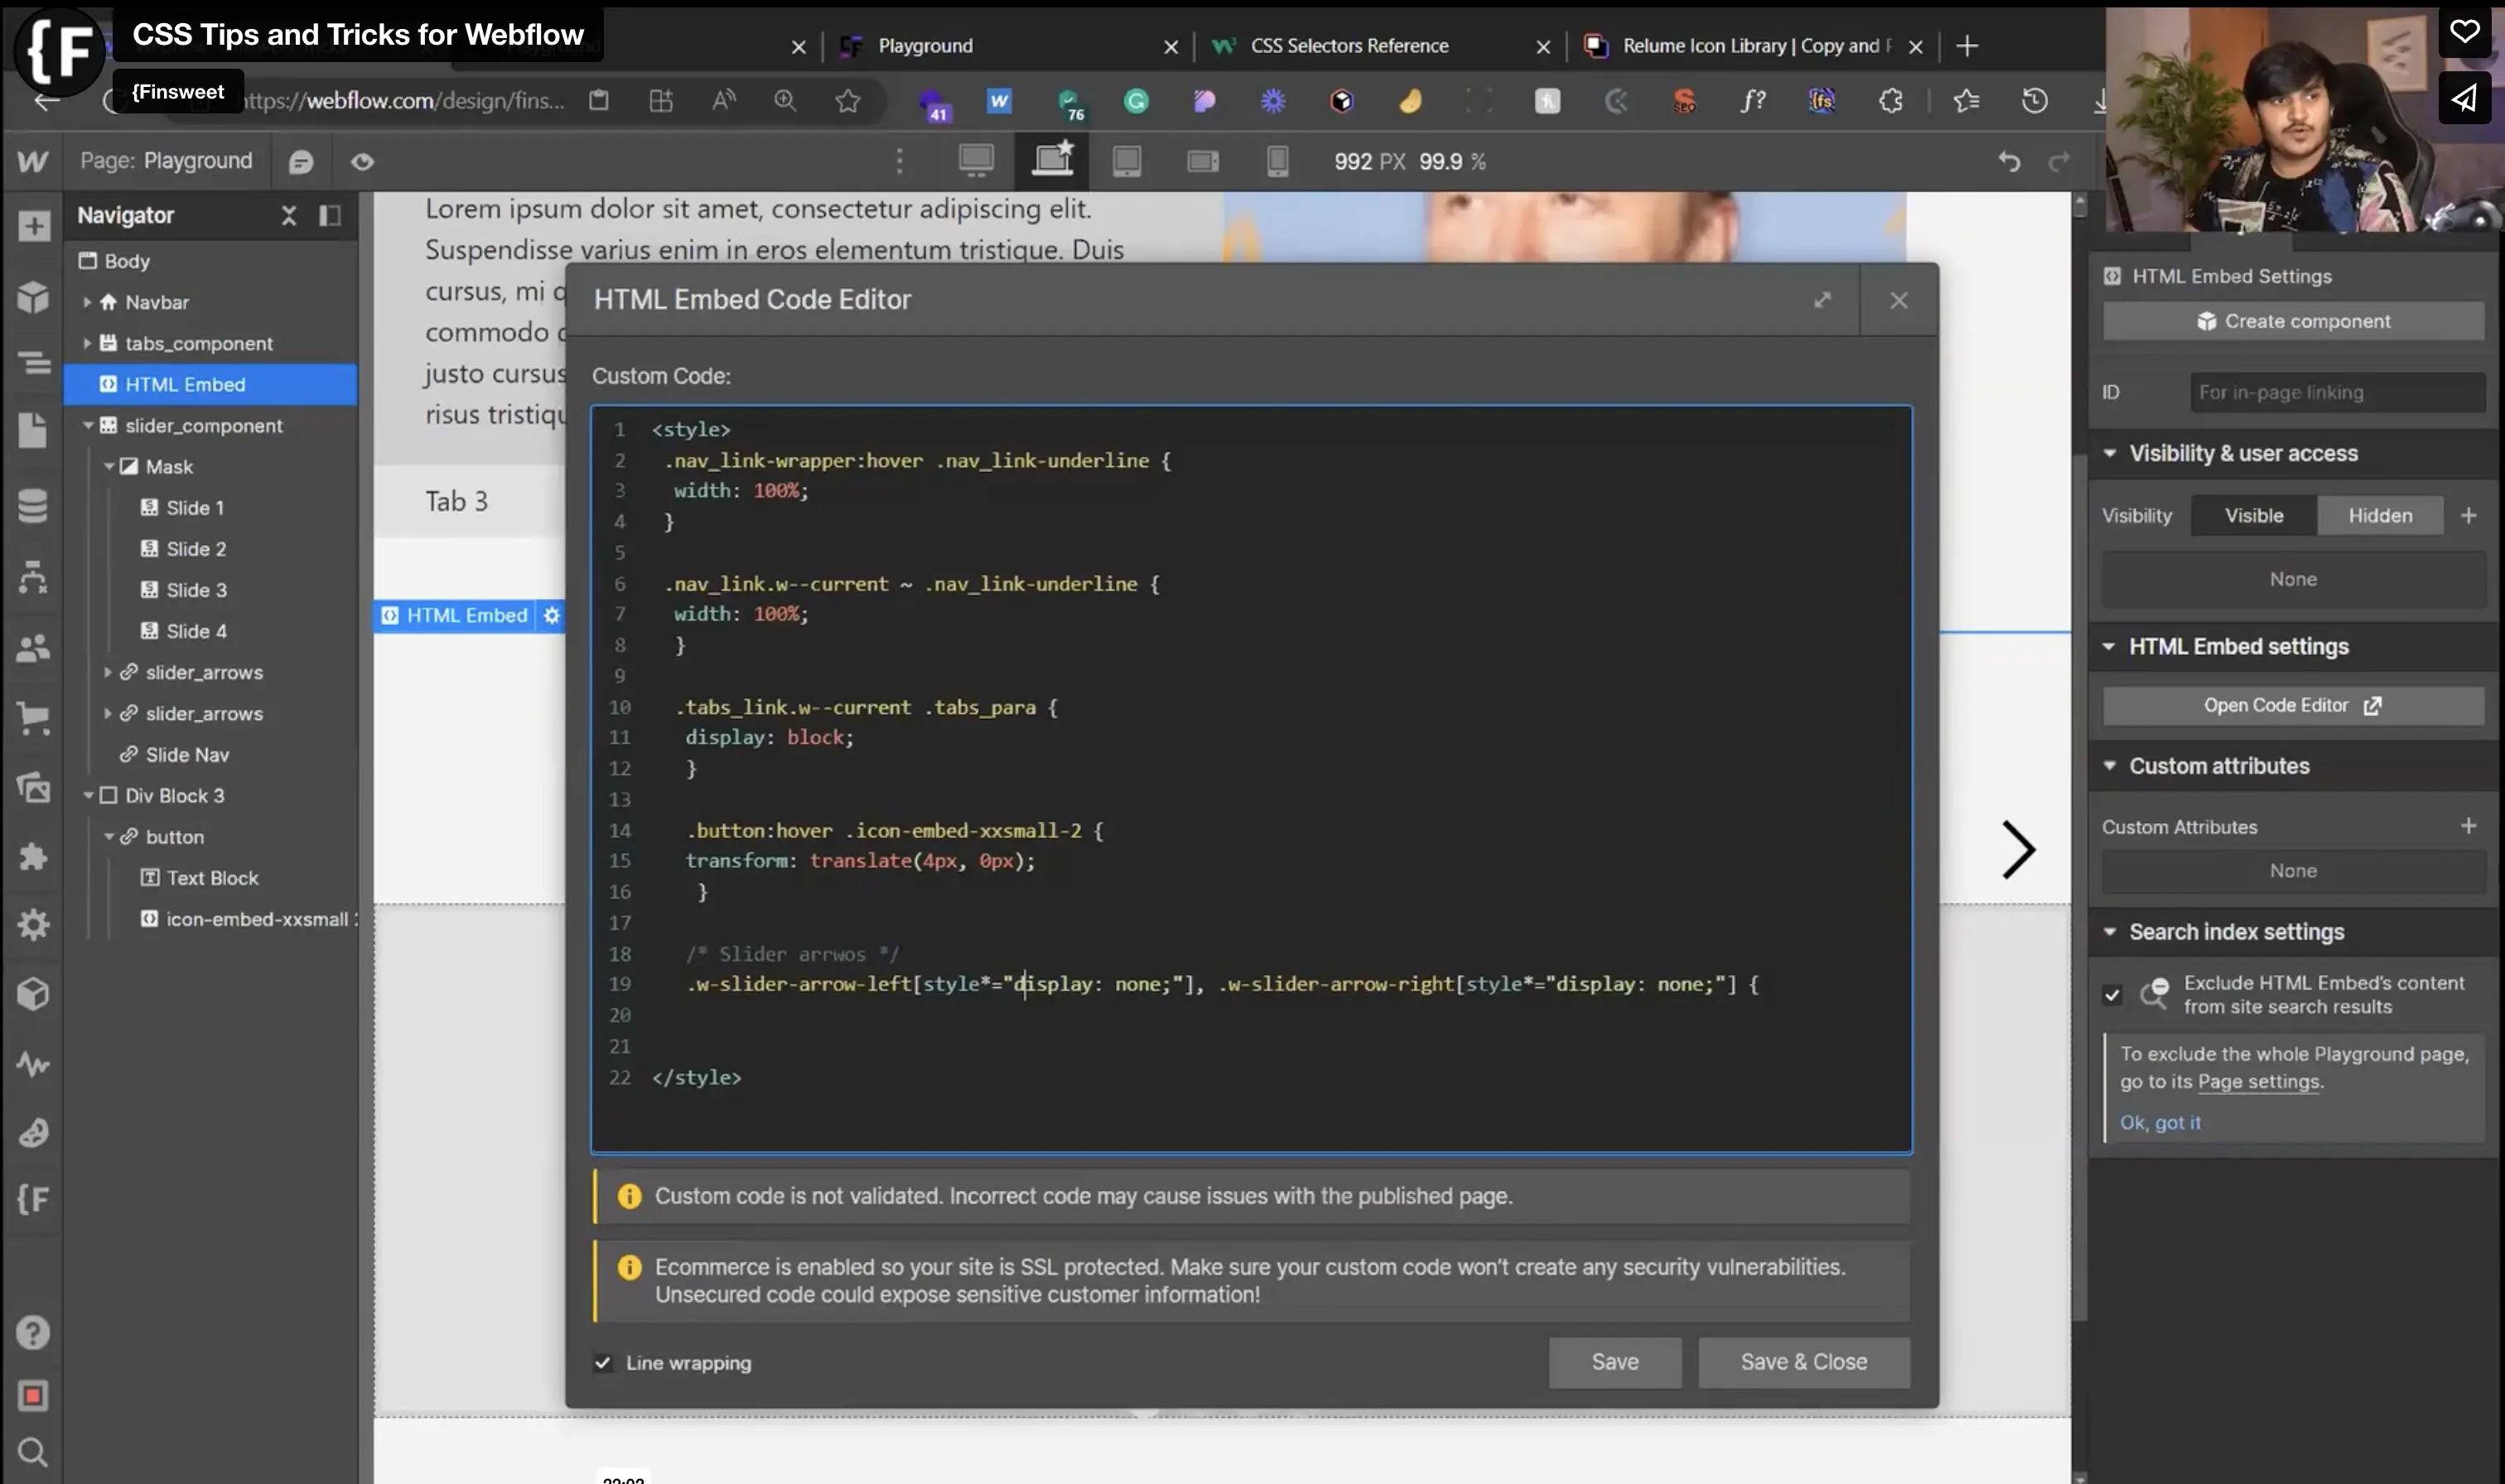
Let's take the example of an arrow that should move when the user moves the mouse over it ("hover" event). With Webflow, you can use the style panel to define the initial and final states of the arrow, then use CSS Preview to retrieve the generated CSS code.
Here's how it works:
- Define the arrow's final state: In the style panel, assign the arrow its class and define its state when hovered. This is where you define how the arrow should move.
- Use CSS Preview to retrieve the code: Once you've defined the initial and final state of the arrow, you can use CSS Preview to view the CSS code Webflow has generated for this state. Copy this code.
- Include code in Custom CSS: Next, go to Custom CSS and paste the code you've copied. By adding this destination state with the hover effect to a parent element, such as the button containing the arrow, you enable the animation to unfold exactly as you've defined it.

Example of CSS animation creation and injections - embed Webflow code - by Harshit from Finsweet
By using this method, you can quickly and efficiently create CSS animations (or replace JavaScript animations) on your Webflow site, and maintain optimum performance for your site.
Conclusion
Webflow offers numerous possibilities for creating animations, whether in JavaScript, CSS or even GSAP. Some can be created in "no-code", while others require a certain familiarity with code.
It's important to note that using CSS or GSAP for your animations can improve the lightness of the script and therefore the loading performance of your website. As is often the case, approaches that appear more complex at first glance can lead to superior results.
The good thing to remember is that you can use CSS Preview to create and write CSS animation code quickly and error-free with Webflow. It's always nice to use tools to make your job easier.
Ready to take your website to the next level?
Improve your online visibility thanks to Digidop's experience, excellence and reactivity!

.webp)
.webp)

