In this example we will show you how to connect a webflow form to Airtable with Make (Integromat)
1 - Add a Webflow module
Connect your Webflow account to Make (Integromat) by adding a new module.

2 - Choose a trigger
The trigger is the first step in your automation chain. In this example, we will select a "Watch Events" type trigger per webhook so that the automation chain is launched as soon as new data is received. This data will come from a Webflow contact form.

3 - Send the data to the webhook
The objective is to indicate to the webhook what type of data it should subsequently process and forward to the rest of the automation chain. To do this, you must launch the "Watch Event" trigger by right-clicking on the module and then "Run this module only". Then go back to your website, and fill in a web form to send the data to the trigger.

4 - Connect an Airtable module
Once the data is received, add a new Airtable module and connect it to Webflow.

5 - Choose an action
You have a whole host of actions to perform in your Airtable database with Integromat. You can easily choose to add, modify, delete, view, and retrieve information from your databases. You can select specific views, add formulas or filter systems to manage all these actions.
For this example, we choose to add a new line in a view, by clicking on "Create a Record".

6 - Add an Airtable account
Add a new Airtable account by clicking on "add".

7 - Fill in the API key
You need to fill in the API key of your Airtable account in order to link it to Make (Integromat). We will divide this step into four actions as follows.
7.1 Rename your connection to your Airtable account name
Renaming your connection is essential for the rest of your automations. Indeed, you may have to connect a different account than yours later on.

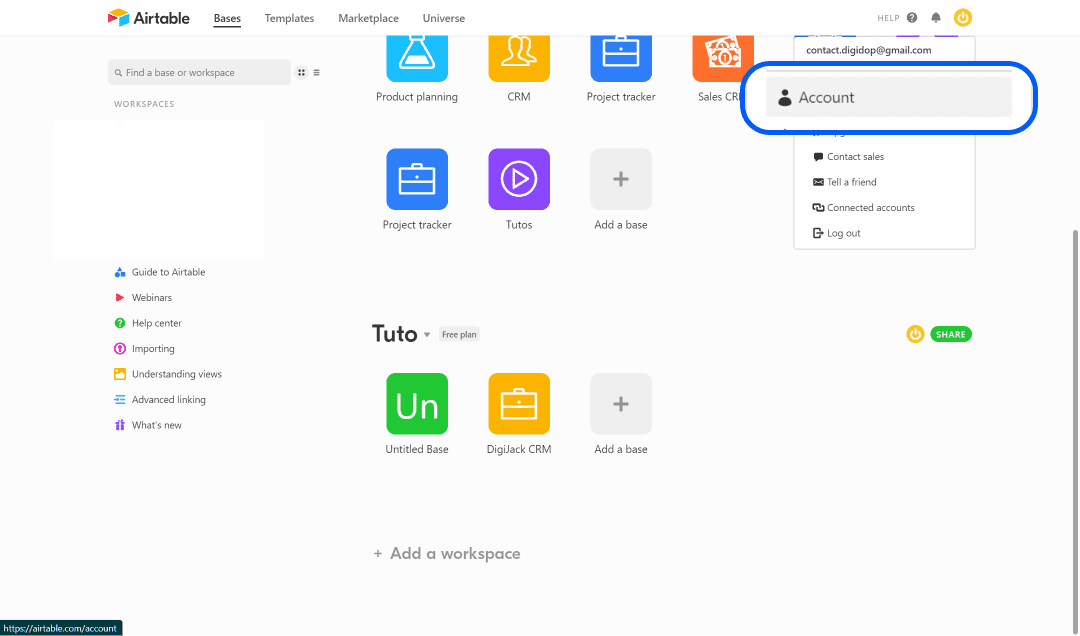
7.2 Go to the Airtable settings
Go to your Airtable account settings to find your API key.
7.3 Copy your API key
Copy your API key hidden by dots. This key will allow you to uniquely identify yourself in Make (Integromat).

7.4 Paste the API into Make (Integromat)
Paste your API key to validate your new Airtable connection and click "Continue". A pop-up window will open asking you for permissions to your new Airtable account. Accept the permissions and proceed to the next step.

8 - Add a base
You probably have several databases in Airtbale, allowing you to manage different types of projects and data. The idea for this example would be to select a database where your different prospects or clients are located. Select the database you want to connect to Webflow from the drop-down list.

9 - Add a table
Once you have selected the database, you must now choose the table in which you are going to create new rows. This will then give you access to the column headers of that database for the tagging stage.

10 - Add markup
You can now fill in the fields in your table with the various data retrieved by the Airtable webhook. Match the data and click OK to complete the connection with Integromat.

💡 Remember to save the automation. Integromat does not do automatic backups 😕
You have now connected your Webflow form to an Airtable database using Integromat. If you do not have Integromat, another method would have been toembed an Airtable form in Webflow.
Ready to take your website to the next level?
Improve your online visibility thanks to Digidop's experience, excellence and reactivity!


.webp)
.webp)

