Today, we are going to see how to create a wireframe for your website using Figma. First of all, we will define what a wireframe is.
A wireframe is used to highlight the important aspects of your future website before it is mapped out and therefore developed. It is a strategic layout of your future web pages to meet the needs of your business. This strategic layout is intended to optimise your conversions once the site is developed. The wireframe will also lay the foundations of your site and you will be able to build its architecture (meshing, CTAs, SEO best practices, etc.).
A wireframe can be made by hand, but it is much more practical to make it on specialised tools. Let's see how to make a wireframe with Figma. Figma is a collaborative nocode tool that allows you to create graphics and in particular user interfaces (UI). This tool is a freemium offer (the paid version allows you to install specific plugins and to have an unlimited number of files). This nocode tool will also allow you to create prototypes and test the UX of your future site. And you don't need to be an experienced designer to start creating on Figma.
Step 1: Go to Figma
First step, but the most important one, is to go to Figma (create an account if you haven't already done so). Then click on "New design file" for your project.

Step 2: Create your different pages
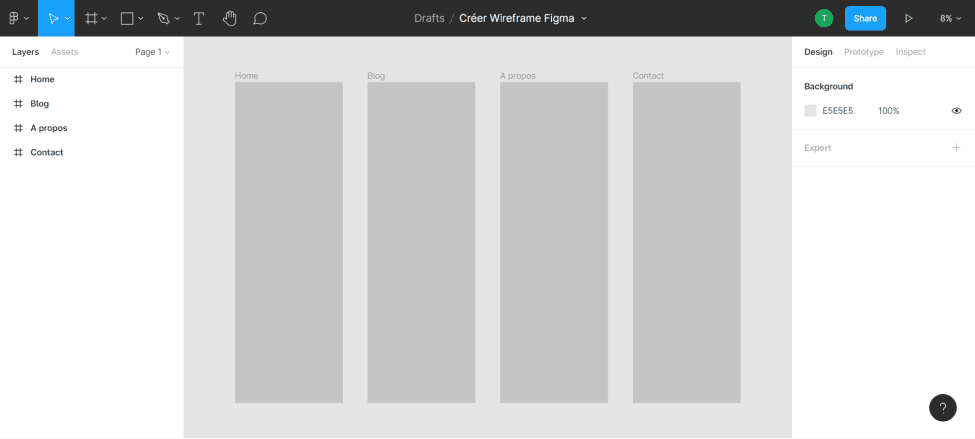
You will then arrive in an empty space. You can rename your file by clicking on "Untitled". Next, you can create your different pages using the rectangle shape tool. Click on the rectangle shape or click on R and draw a rectangle in the creation space. You can now define its length and width by clicking on your shape and setting the parameters W (Width) and H (Length). Repeat for all your pages.
For our tutorial, we will take the example of a site with 4 pages (Home, Blog, About, Contact). We have defined a width of 1680, the height is adjustable according to the content. For the moment, we are going to start with 4 rectangles of the same size, but the length can evolve.
For each rectangle, you can create frames with the name of your pages. To do this, in the bar on the left, you can right-click on one of your rectangles and click on "Frame selection" or select your rectangle and "Ctrl + Alt + G". Then rename your frames.
Step 3: Create your navigation bar
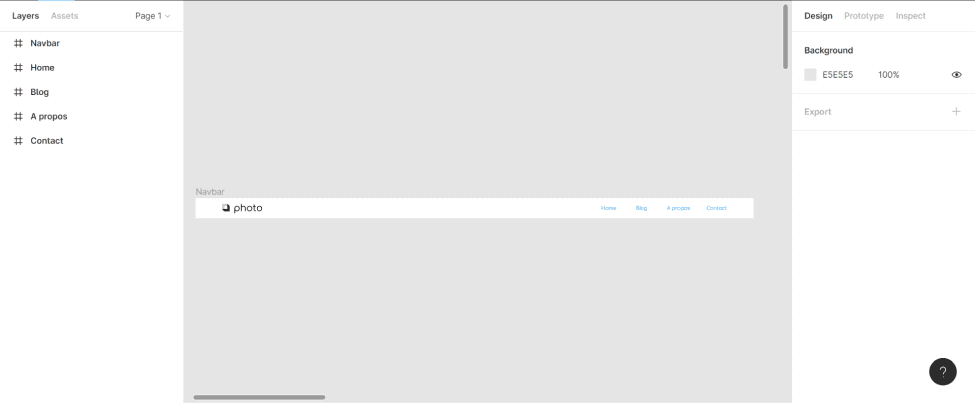
Now that you have your pages, you can insert your navbar at the top (or on the side of your pages). To do this, you can create a rectangle of the same width as your page and with the length of your choice. In our example, we will use 60*1680.
By clicking on the rectangle, you can give it a colour (in the "fill" part of the right-hand side). For our example, we decide to put a logo on the right and a page menu on the left. For the logo, we take an icon that we insert into our file and resize. And we add 4 texts (for our 4 pages). In the design tab, you can change the font, size, colour, etc. Then we select all the elements of our navbar and come frame the selection. We rename the frame "navbar".
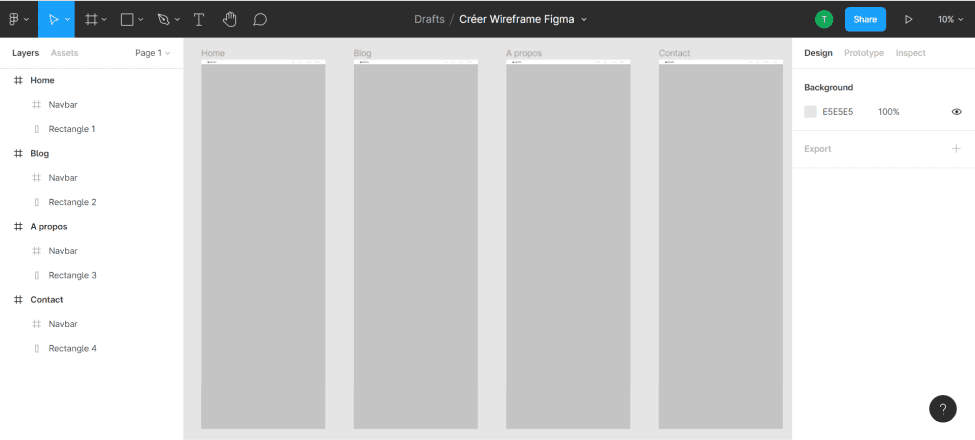
Then, we are going to place this frame in the different pages, by duplicating it several times (here 4 times) and by positioning it in each page. You can drag the "navbar" frame into the different page frames.
Step 4: Fill in your pages
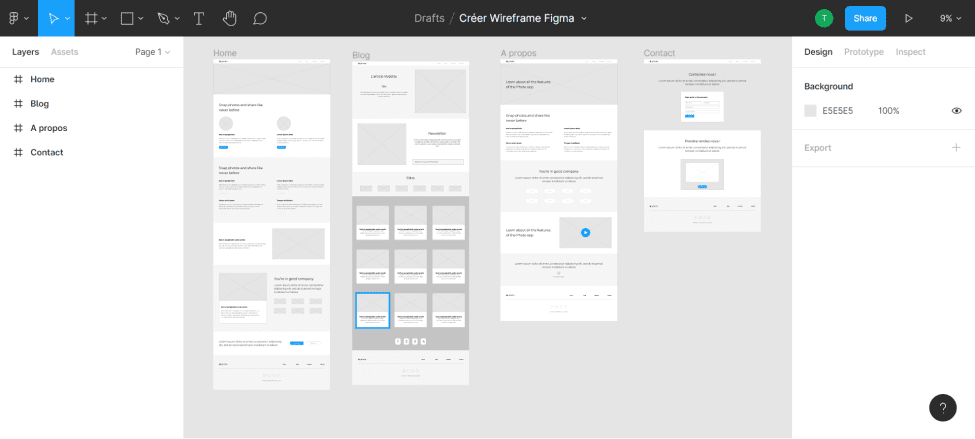
In the same way as the navbar, you can create shapes, texts, insert images and icons to feed your pages. Please note that this is only a wireframe, so there is no need to push the design. Simple shapes, image semblances and texts will allow you to structure your pages. The aim is to have a coherent layout. However, don't forget to group your sections and rename them to have a clear vision.
Some Tips :
- Make sections with different rectangles
- Grouping and renaming frames / groups
- Keep the same forms for the same types of content (images / videos)
- Varying the formatting of sections
- Keep the same colours for different forms/content (CTA, image, title, etc.)
- Aerate your content
- Don't forget your footer
- Keep it simple
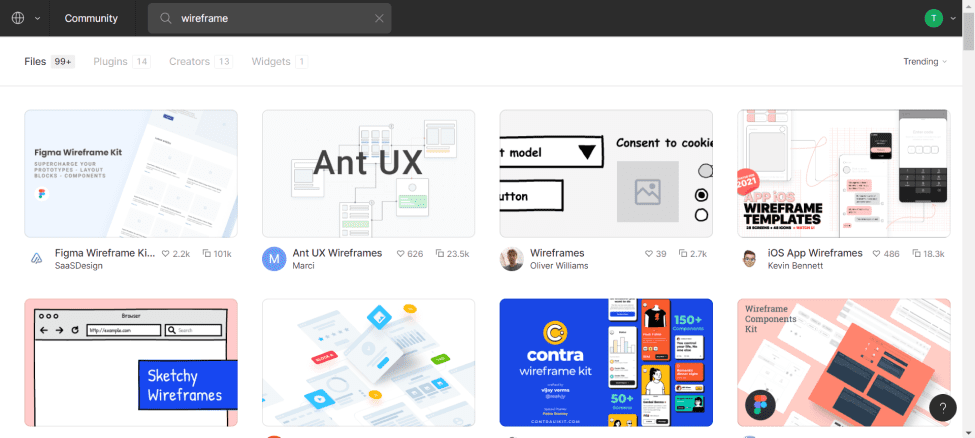
Bonus : Figma Community
Figma offers a place where you can download / copy resources that designers have made available. Thus, you can search and find wireframe templates to help you in the realization of your future website's schema.
You can then design the model of your site and develop it on webflow. Note that it is also possible to carry out these steps for a mobile application (app). The design on figma is almost identical.
If you need help with the design and development of your website, our agency webflow, Digidop is there for you!
Ready to take your website to the next level?
Improve your online visibility thanks to Digidop's experience, excellence and reactivity!


.webp)
.webp)

