Introduction
Navigating a website should be a fluid and accessible experience, whatever language you speak.
To deliver an optimal user experience to a global audience, the right language selector is essential for any good multilingual site. And with the release of Localization, Webflow now makes this possible with a brand-new element: the Locales List.
This new element allows your users to navigate between the different language versions of your site, while being fully customizable in terms of design and appearance to match the overall design of your site.
In this article, we'll explore the steps involved in creating an effective language selector, improving accessibility and interaction with a multilingual audience. Ready to dive into the creation process? Let's get started!
Introducing the new Locales List element
The Locales List element introduced by Webflow is a new nugget for multilingual site designers. This component, integrated directly into the Designer, simplifies the creation of a dynamic, customizable language selector.
Key features:
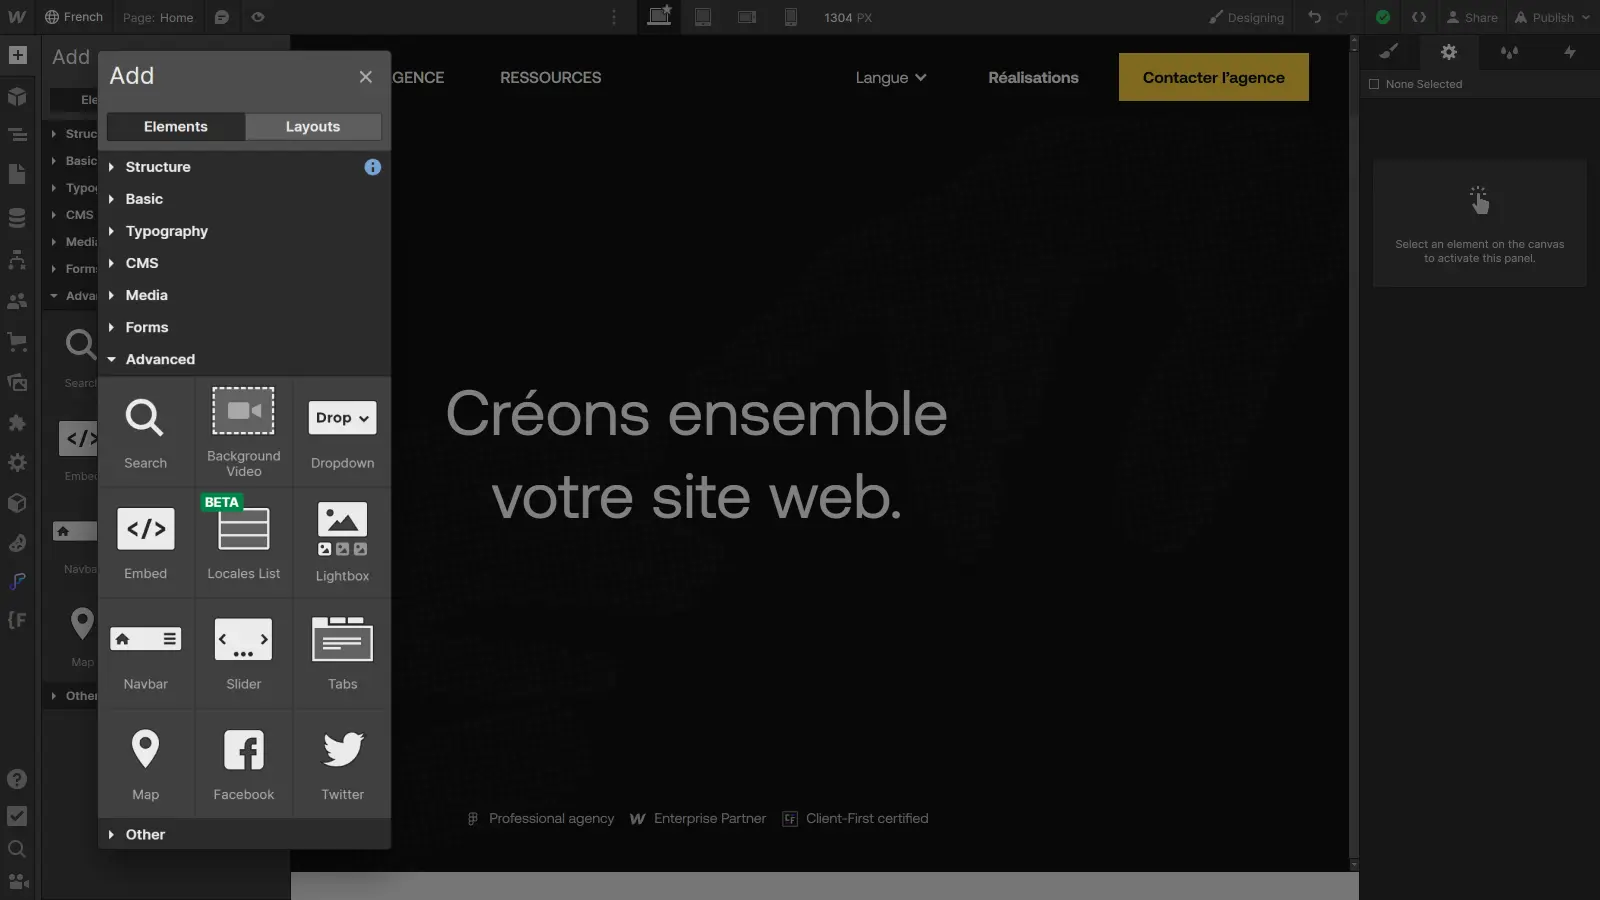
- Easy integration:simply navigate to the elements panel in the Designer and drag the "Locales List" element where you want it to appear on your page.
- Customizable flexibility:In the same way as a Collection List, the Locales List element acts as a container for all the elements of a collection (in this case, the languages activated on your site).
- Dynamic link to localization:The element connects to your localization settings and will automatically display all languages activated on the site.
Why use it:
- Accessibility:Offer your visitors an intuitive way to switch from one language to another, enhancing their experience on your site.
- Harmonious design: Customize the appearance of the Locales List to fit in perfectly with your overall design.
- Ease of implementation: No need to juggle complex scripts, the element is there, ready to be integrated and customized to your needs.
The Locales List is therefore an excellent tool for making your Webflow site truly multilingual. In the next section, we'll look at how to integrate this element into a functional language selector within a navigation bar.
Preparing the language selector
But before we dive into creating the language selector, let's start by setting the scene.
For an efficient and intuitive language selector, the addition of the Locales List element will have to wait. A better solution is tointegrate the element into a dropdown. A dropdown element offers a more accessible solution for integrating a language selector.
More precisely, here is a structure to follow:
- Add a Dropdown element inside your navbar.
- Inside the Dropdown List element, add your Locales List.
Now that the basic structure is ready, let's move on to the integration of the Locales List element to understand how to create a dynamic language selector.
Language selector creation
If you haven't already done so, start by setting up the structure of the previous section:
- Add a Dropdown element inside your navbar.
- Inside the Dropdown List element, add your Locales List.
- Once your structure is in place, customize the Locales List according to your preferences.
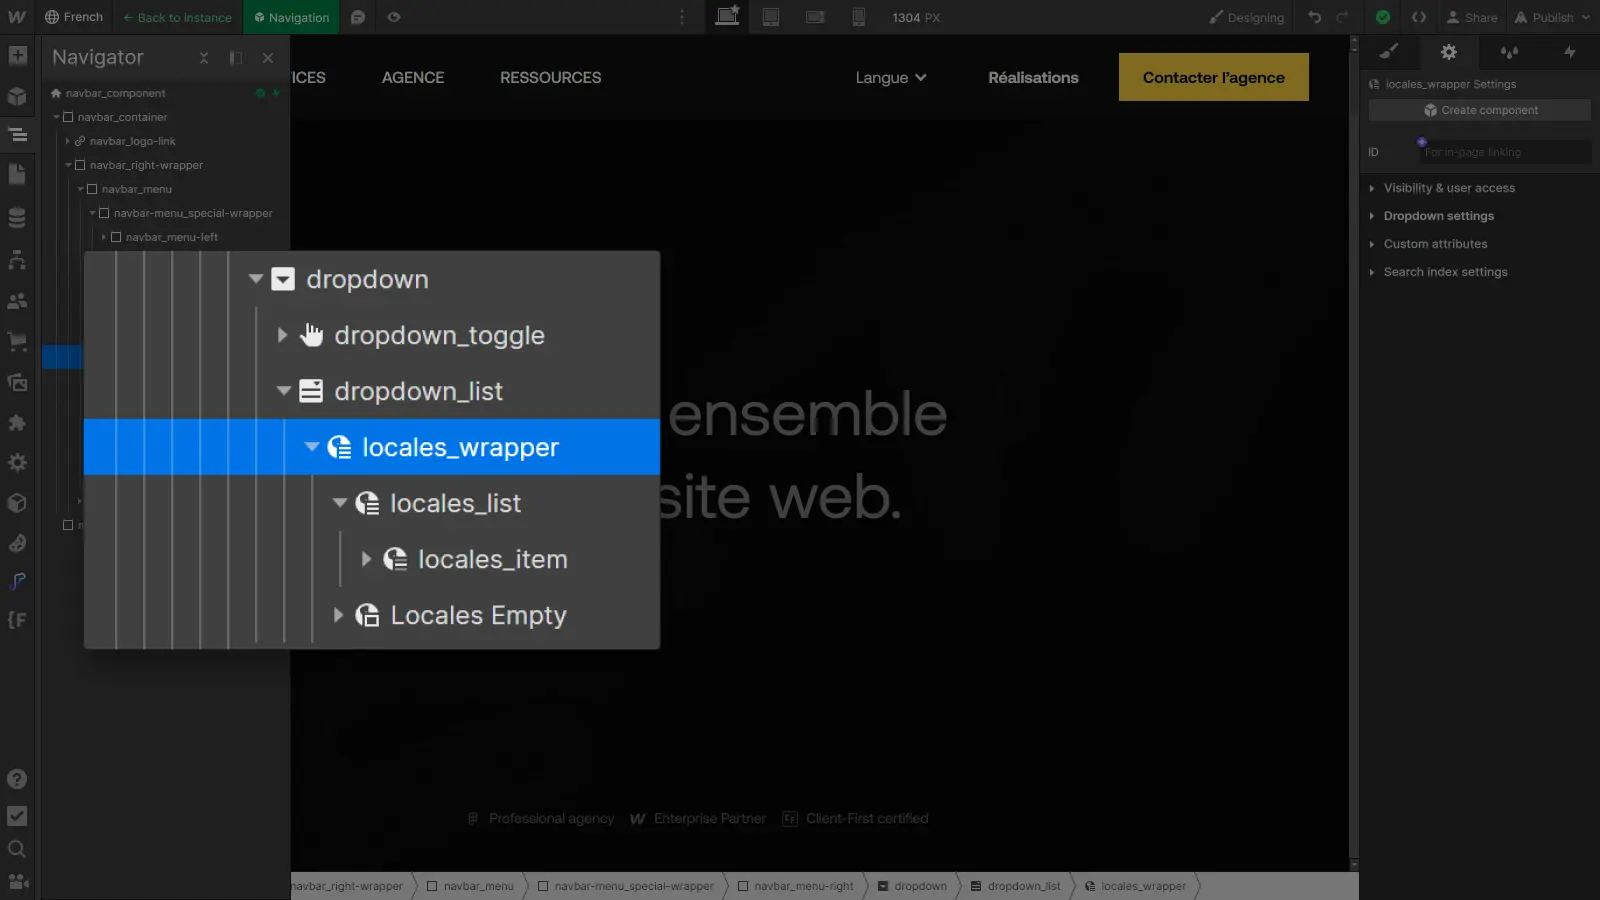
The Locales List element functions like a Collection List. The Locales Wrapper, Locales List and Locales Item elements are comparable to the Collection List Wrapper, Collection List and Collection Item elements.
- Customize the Locales Wrapper element to personalize the component container.
For example, with a background and some padding. - Customize the Locales List element to adjust the distribution of elements.
For example, as a vertical flexbox with a 1rem gap. - Customize the Locales Item to modify elements.
In addition to this, in the link options inside the Locales Item, you can choose to display the display name chosen for the language (French) or its ISO code (FR), depending on which best suits your design.
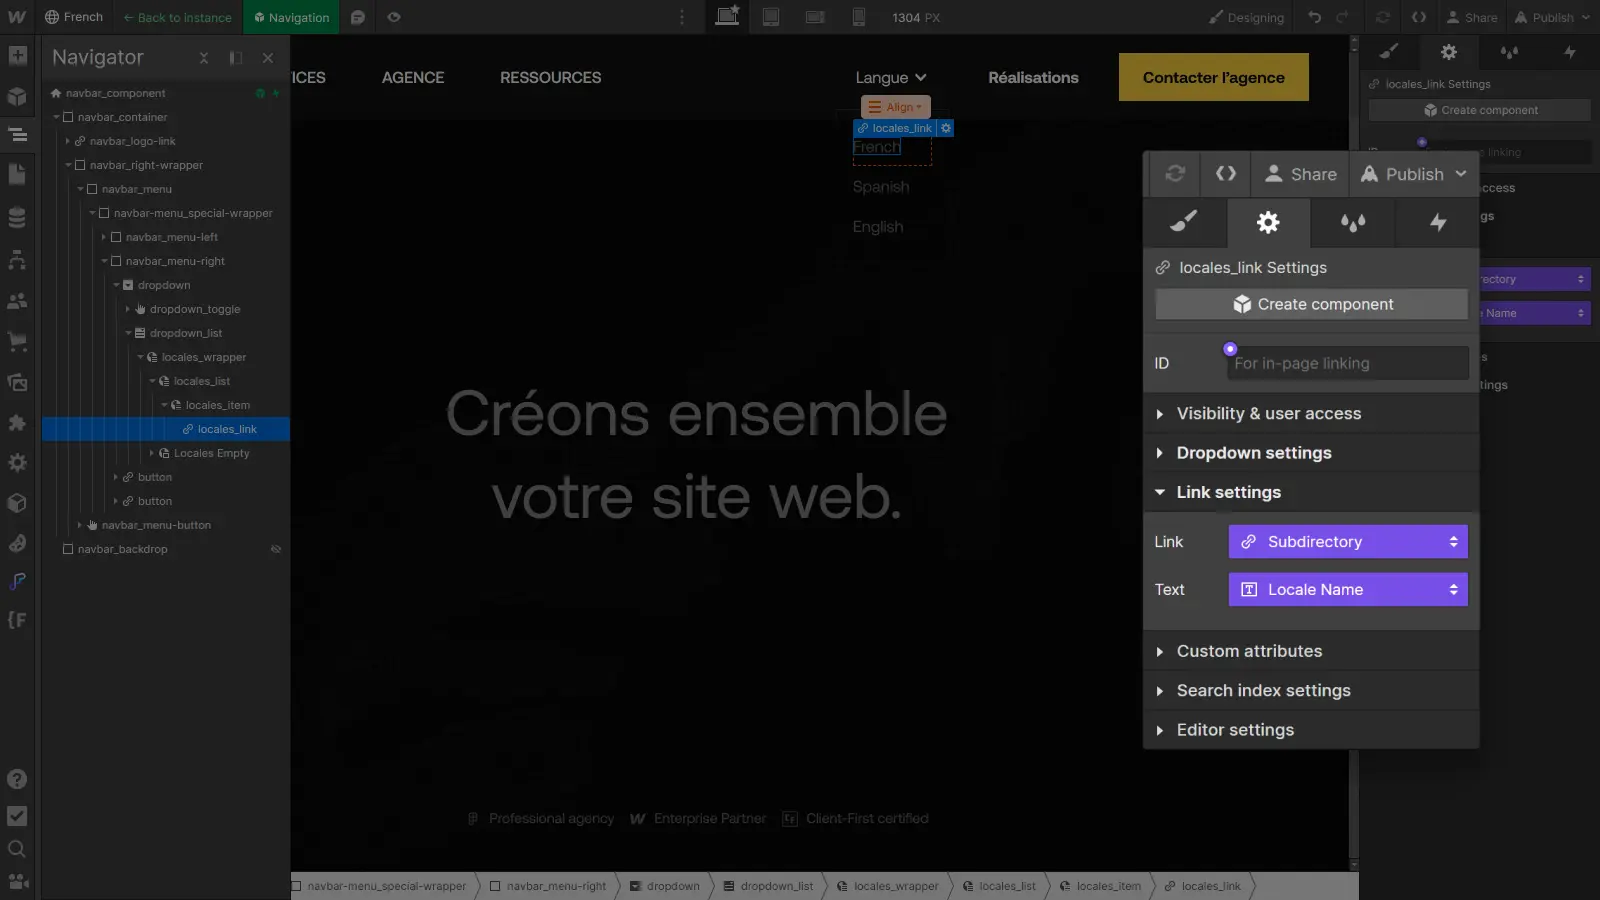
In short, make sure the appearance of the Locales List matches the overall design of your navbar: play with styles, colors and text styles for perfect integration. By following these steps, you'll now have a language selector ready for use on your site.
Conclusion
By following the steps outlined in this article, you're now equipped to integrate an effective language selector into your navigation bar. The impact goes beyond aesthetics, as a well-designed language selector improves accessibility and interaction with a multilingual audience.
By integrating this feature, you're one step closer to a truly global website, offering relevant and accessible content, no matter what language your visitors choose. So dive into creating your language selector and deliver a seamless multilingual experience on your Webflow site.
To go further in managing your multilingual site with Webflow Localization, consult our ultimate guide on the subject :
Ready to take your website to the next level?
Improve your online visibility thanks to Digidop's experience, excellence and reactivity!


.webp)
.webp)

