Webflow offers a range of features to customise your website. The tool is well known for offering its users advanced web design solutions. In this article, we will show you how to import and add your own custom font in Webflow.
Method 1: Import & Add a Google Font
Step 1: Go to the Projects Setting of your Webflow project
In this step, you will have to go to the settings of your Webflow project. To do so, from the interface of your project, you will just have to click on the "W" on the top left and then on "Project Settings".)

Once you have arrived at the settings page, you need to go to the "Fonts" tab.

Step 2: Select the type of Google Font you need
Click on the drop-down list in the "Google Fonts" section and scroll down until you find the font you want. For our example, we will choose the font "Martel".
By selecting your font type, you will be able to select several variants (font thickness) and several language/script (decorative and artistic variant).
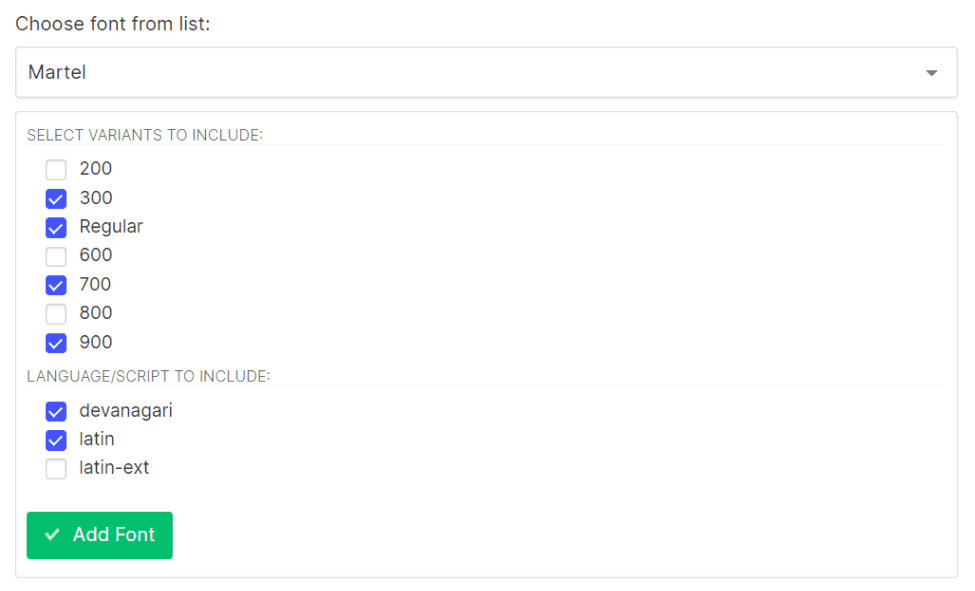
Once you have chosen all the variants of your font, click on the "Add Font" button.
Step 3: Change the font of your texts in your project pages
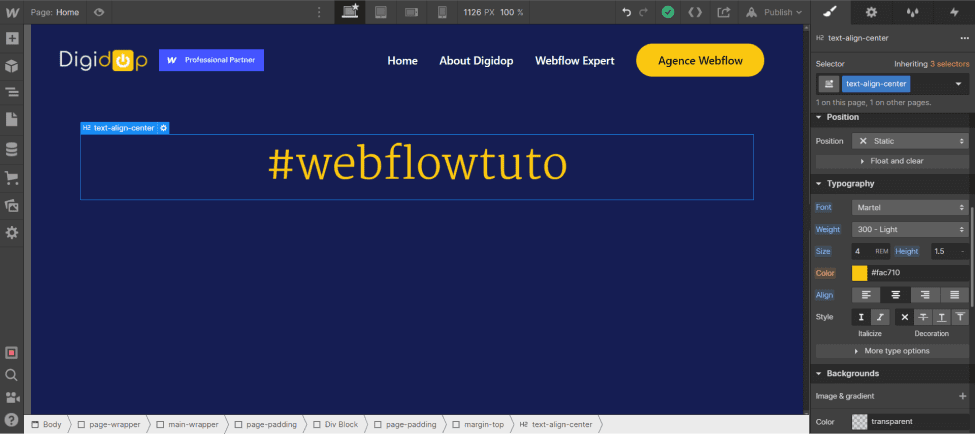
Now that you have added your new font, you can return to your Webflow project. To apply the new font to a text, you will need to go to the Style (S) tab, scroll down to the "Typography" section. In the "Typography" section, select the new font in Font and customise your texts.
Method 2: Import a custom font into Webflow (that is not in Google Font)
Step 1: Download a font file to your device
The first step in this method is to download your font to your device files (most commonly computers).
Please note that in order for your font to be uploaded correctly, you must upload fonts in TTF, OTF, EOT or WOFF format.
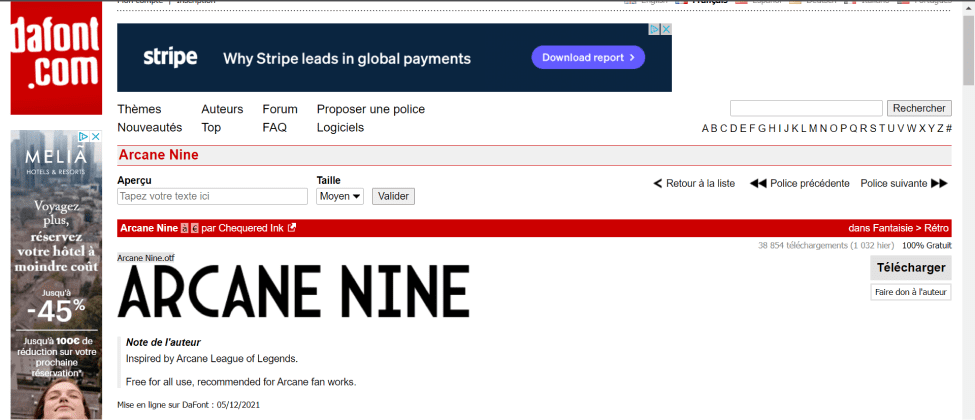
A very useful nocode tool for downloading fonts is DaFont. This tool offers many types of fonts to download with compatible formats. For this example, we will download the font "Arcane Nine". In Dafont, you just have to search for the font and click on the "download" button (please pay attention to the author's notes which specify the type of use).
Step 2: Unzip the zip file
If you have downloaded the font from DaFont, you will see a "Zip" file in your downloads. You will need to unzip this file. To unzip this type of file, select it, right click and click on "Extract All...". A new file will be created with your font and its variants if there are any.

Step 3: Go to the Projects Setting of your Webflow project
Repeat the first step of the first method. To summarise, go to the "Projects Setting" of your Webflow project and go to the "Fonts" tab.
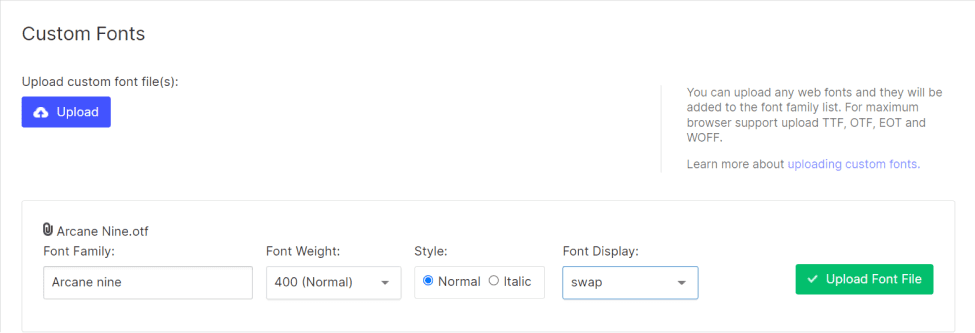
Step 4: Upload your custom font
For this step, you will need to click on the "Upload"button in the "Custom Fonts" section.
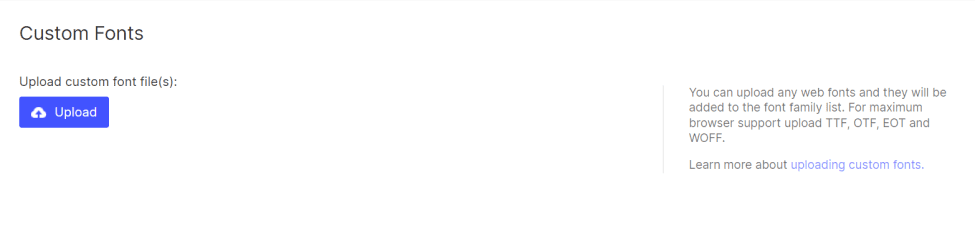
Your file explorer will open and you will have to go and find the font you have previously downloaded. Select your font and the variants you want if there are any (to make a multiple selection, hold down the "ctrl" key) and click on open.

Your font will be uploaded to Webflow, you will then have to select the options you want and click on the "Upload Font File" button. If you have made a mistake, you can edit or delete the font once it is uploaded.
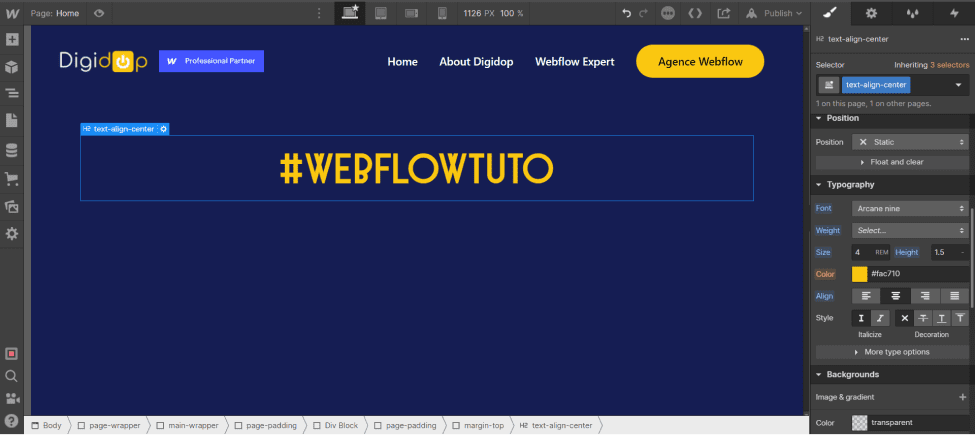
Step 5: Change the font of your texts in the Designer
You will go back to the Designer of your project, go to the Style tab and then to the Typography section. Your font is now available and ready to use.
Watch our video on the subject: Importing/Adding your own font | Webflow tutorial
Learn the best practices to insert a font in Webflow!
Ready to take your website to the next level?
Improve your online visibility thanks to Digidop's experience, excellence and reactivity!


.jpg)
.webp)
.webp)

