Figma is a web design tool that offers many features to create web mockups, visuals, and other designs. But the Figma design interface is a 2D interface, and although some features (shading, gradient, opacity, etc.) allow you to create volume and relief effects, the tool is not designed for 3D.
But Figma's power is not only based on its own features. Figma has a multitude of plugins to push the limits of your design even further. Plugins have the advantage of offering the functionality of another tool, while being compatible with your Figma design.
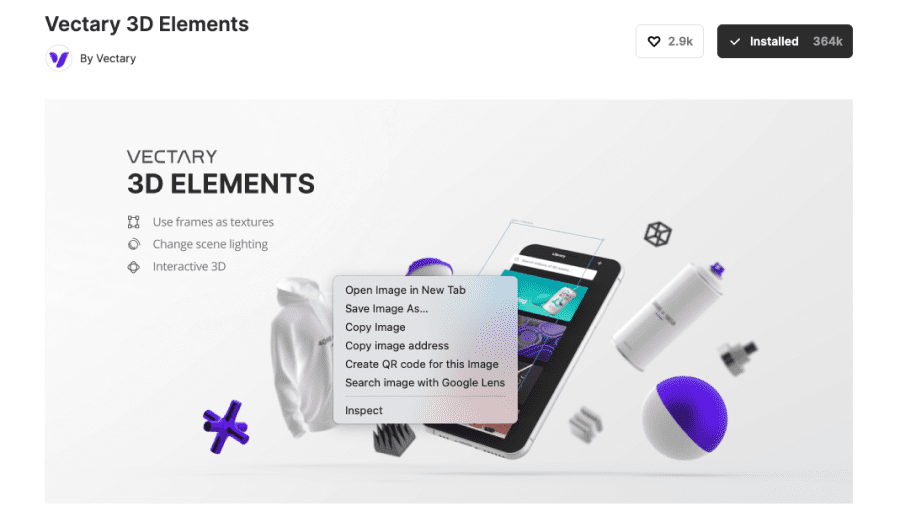
Here, it is the Vectary 3D Elements plugjn that will allow us to integrate 3D visuals in Figma.
1. Add the Vectory 3D Elements plugin
From the Figma community, go to the Vectory 3D Elements plugin .
Click on "Install" to add the plugin to your Figma account.
2. Open the plugin in Figma
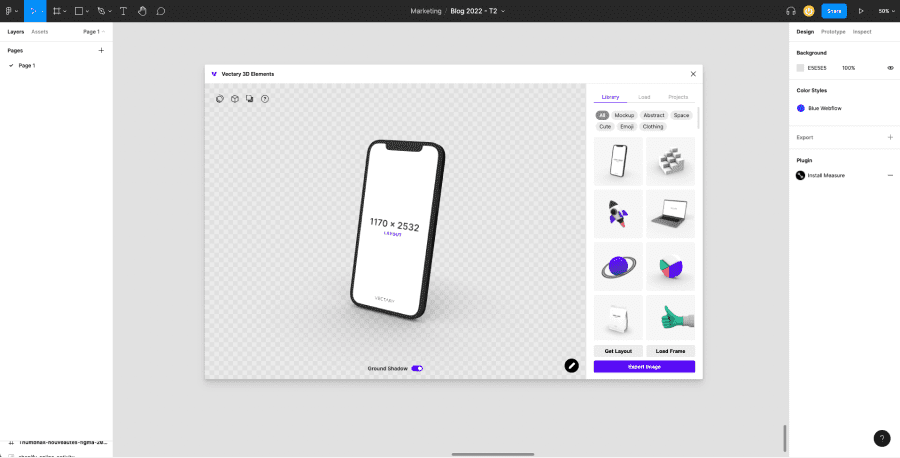
Once installed, go to your Figma file and open the plugin:
- Right click on the canva
- Click on "Plugin".
- Search for the Vectory 3D element plugin
3. Choose a 3D visual
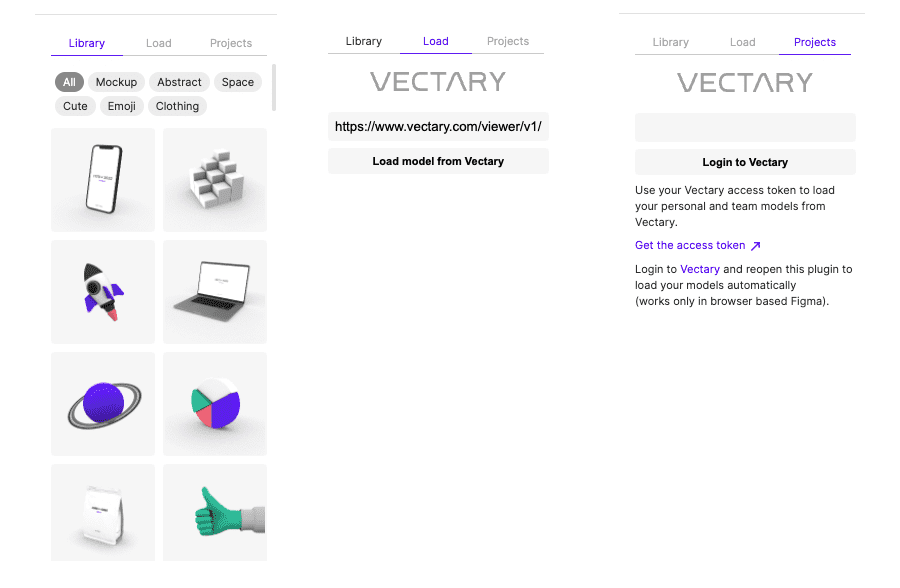
Vectory 3D Element allows you to access 3D mockups in different ways:
- From the free 3D library of the plugin
- From a Vectory 3D Elements download link
- From your Vectory 3D Element account
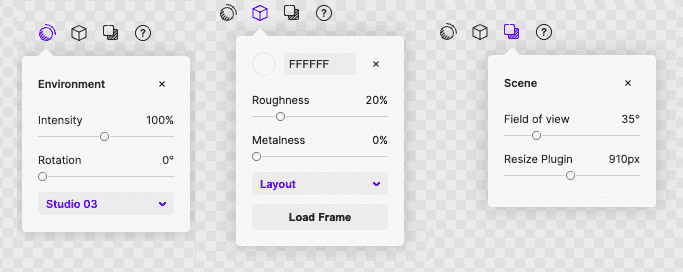
4. Customise the 3D mockup
Once you have chosen your 3D mockup, you will be able to customise it directly from the plugin. The tool provides you with many functionalities for :
- Manage the environment of the 3D element
- Managing the material
- Customise the staging of the mockup
- Adding shading
- Use the Figma frames to customize the surfaces of the visual
- Change the colours
5. Integrating the 3D illustration into Figma
Once you have customized your 3D visual, you can click on "Export Image" to integrate it directly into your Figma file. All you have to do is integrate it into your model!
Ready to take your website to the next level?
Improve your online visibility thanks to Digidop's experience, excellence and reactivity!


.webp)
.webp)

