For more security for your Webflow site, it is possible to use a two-factor authentication system. This is currently the most advanced authentication method on the internet. It consists in checking each new connection on two different devices. So, if a new user tries to connect to your Webflow account, in addition to having to authenticate via a first password, you will receive an authorization request on another device such as your smartphone for example.
- Authentication 1: Enter your account password
- Authentication 2: Enter the temporary and unique password received on the second device
In this article we explain how to use two-factor authentication for your website and Webflow projects.
1 - Add Webflow two-factor authentication
To enable Webflow two-factor authentication security, go to the security settings of your project.
1.1 - Go to your Webflow settings
To add a first time two-factor authentication, login to your Webflow account and access your account settings by clicking on your profile at the top right of the screen and then on"Account Settings".
1.2 - Go to the security settings
Once in the general settings of your Webflow account, you will need to go to the account security settings. To do this, click on"Security".

1.3 - Add two-factor authentication
Once in the Webflow security settings, simply click on"Enable Tow-Factor Authentication" to enable Webflow two-factor authentication and start the setup.
1.4 - Follow the Webflow setup steps
- STEP 1 - Install a two-factor authentication application on your phone. Webflow recommends Google Authenticator available on Google Play or theApp Store.
- STEP 2 - Scan the automatically generated QR code in your Webflow security settings. If the QR code doesn't work, Webflow gives you a code to enter by hand. Good luck, it's worse than the password of your internet box, but we can't say that it's not secure!
- STEP 3 - If you forget your authentication code Webflow provides you with 8 "backup codes". Now you have to save them somewhere. Be careful, each code is only valid once. If you run out of backup codes, you will have to reprogram your two-factor authentication to generate new ones.
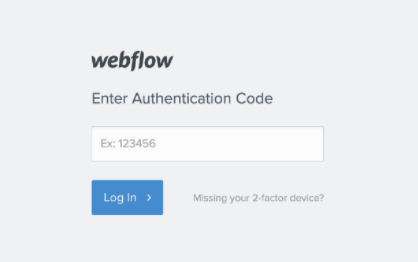
- STEP 4 - Enter your authentication code.
2 - First login with two-factor authentication
The next time you log on to Webflow, you will be asked to enter your two-factor authentication code for the first time.
3 - Disable Webflow two-factor authentication
If you wish to disable Webflow two-factor authentication, you will need to return to your Webflow security settings (see step 1) and then click on "Want to disable it?". You will then be asked for your authentication code to confirm the deactivation.
Recover a lost Webflow authentication code
If you lose your two-factor authentication code, you have two options:
- Use one of the backup or emergency codes provided when you first set up.
- Contact Webflow Support to disable two-factor authentication.
Ready to take your website to the next level?
Improve your online visibility thanks to Digidop's experience, excellence and reactivity!


.webp)
.webp)

