
When creating a website, several steps must be followed. One of these steps is to create a style guide before web development. The style guide will frame the entire web design aspect of your digital project. Today, we will explore how to create an optimized style guide in Figma for Webflow.
1. Why create a style guide in Figma?
First of all, Figma is an online collaborative design tool that allows users to create wireframes, mockups, and prototypes for websites and mobile applications.
Additionally, a Style Guide is a document that presents the pre-designed elements that will be used in the development of the site, particularly in web design. The style guide defines the design rules that must be followed when creating a website. Notably, it includes various typographies, colors, buttons, heading sizes, etc.
Defining the style guide correctly is important for several reasons:
- Ensuring consistency in design
- Facilitating quick identification
- Reflecting your company’s image
- Providing a solid foundation for the overall website design
- Having a clean style guide in Figma greatly simplifies the job for a Webflow developer (and web developers in general).
In Figma, creating an optimized style guide for development on Webflow is straightforward. Let’s look at the different steps involved in creating a perfect style guide for Webflow in Figma in the next section.
2. Steps to create an optimized style guide in Figma
2.1 Copy a style guide from a Client-First template by Finsweet in Figma
Finsweet is the global reference when it comes to development in Webflow. The Finsweet team has developed an entire methodology to achieve a clean structure in Webflow and avoid unnecessary code bloat. This methodology is known as Client-First.
In summary, using Client-First in Webflow means employing classes defined in a Webflow Style Guide page to structure your pages. With class combos and class stacking, you can build a site with a clean structure (for better performance) without creating a different class for two or more similar elements. Check out our article on how to properly name your classes in Webflow.
In Figma, there are freely available mockups of sites developed with a client-first approach. To find these, you can visit Figma Community and search for “Finsweet” or “Client-First.” In their mockups, you'll find a frame containing the style guide for the specific project.
This way, you can copy this frame into your own Figma file.

2.2 Open a Client-First Style Guide from Finsweet in Webflow
The purpose of the Figma style guide will be to customize your style guide later in Webflow. Before starting a Webflow project, it is highly recommended to clone the Client-First project by Finsweet with the default style guide.
This way, you will be able to access the “Style Guide” page and see all the elements and classes available. The objective will also be to adapt your Figma style guide according to that of Webflow.
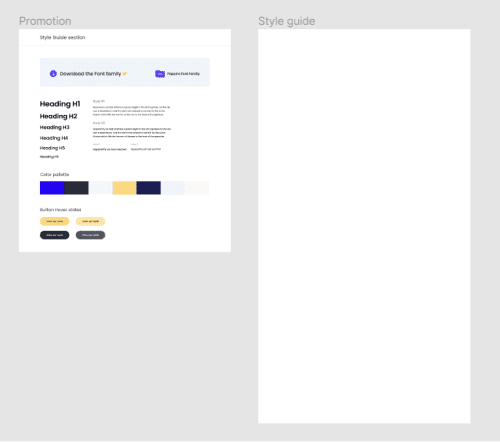
2.3 Create a new Frame in Figma
After copying a Finsweet style guide from Figma and cloning the Finsweet client-first project in Webflow, we can start working on our own style guide. With all our elements ready, the goal is to optimize our Figma Style Guide for Webflow.
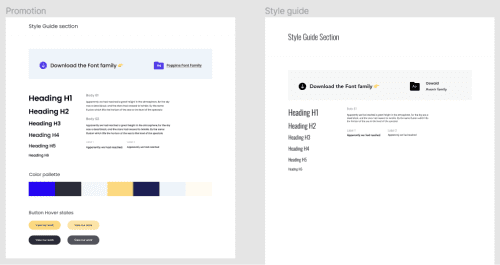
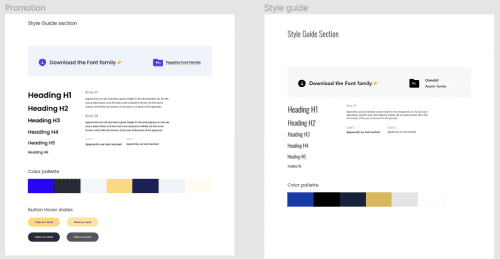
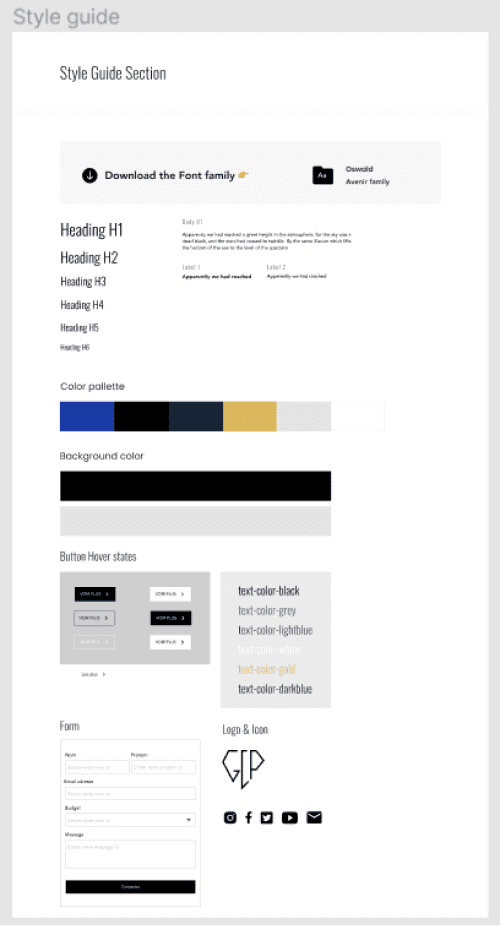
Thus, we can create a new frame where we will place our design elements. To organize our file, we name the new Frame: “Style Guide.”
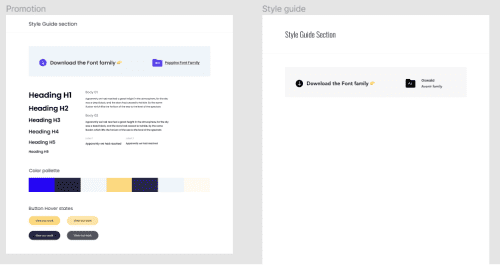
2.4 Add Fonts to the Style Guide
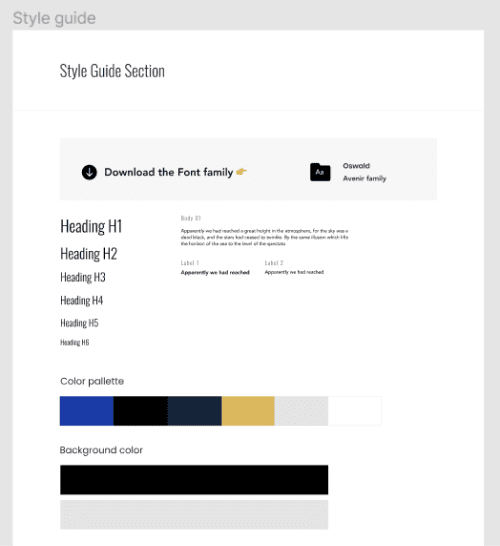
One of the first steps in optimizing a style guide is to specify the different typographies used in the mockup. For this, it's quite simple: copy the element from the Finsweet style guide and paste it into our frame. We will include the fonts used along with a link to download the font if necessary. Learn how to add a custom font in Webflow.
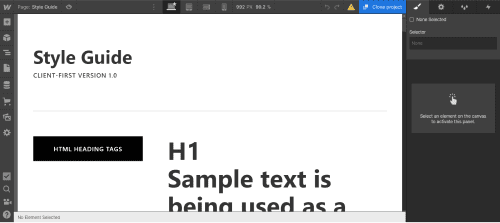
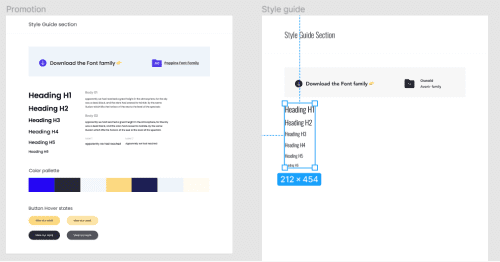
2.5 Define Heading Styles in the Style Guide
The second step is to style the headings (which is crucial for SEO) in our style guide. We can play around with size, font, etc.
We can take the headings section from the Finsweet style guide and customize it in our frame.
2.6 Define General Text (Body) and Labels (for Forms) Styles
Now that we have customized our Headings, we can also style the text elements on our web pages.
We will use the same method as we did for our headings.
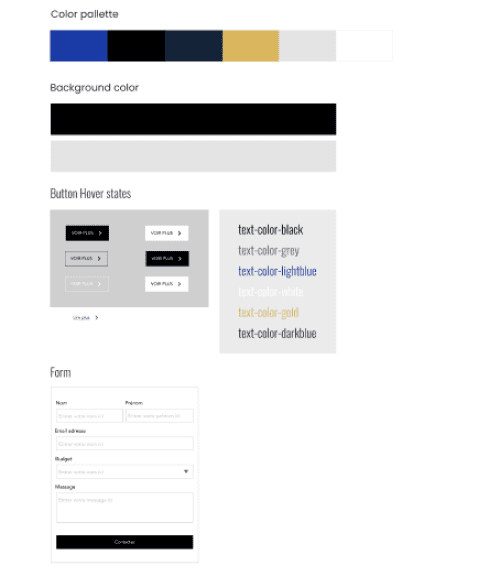
2.7 Define the Color Palette for Our Website
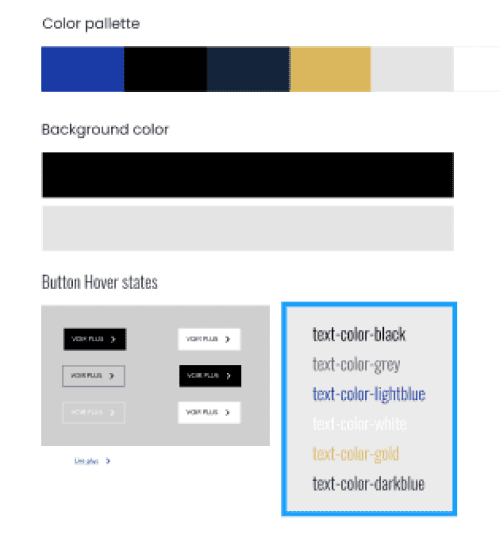
Here, we will add all the colors used in our website. This will allow the Webflow developer to quickly create their color palette in the Designer.
2.8 Define Background Colors Used in the Mockup
Here, we will add one additional element compared to the Finsweet Figma style guide: the background colors. Indeed, in the Webflow client-first style guide, there is a specific class for adding a background color to your section or element. This is what we will include in this section.
We will simply look for the different background colors other than the base background and place the colors in rectangles.
2.9 Insert Buttons into the Style Guide with Hover Effects
Now, we will add all the different types of buttons that will appear on our website. Additionally, we will also include, next to each button, the effect that will occur when hovered over the button with the mouse (the “on hover” effect). We can copy the buttons from the Finsweet style guide and style them in our frame (in our example, we added a gray background to our section to make the white buttons stand out).
P.S.: Don’t forget to include a text button type!

2.10 Highlight Different Text Colors
In the Webflow client-first style guide, there is a practical type of class for modifying the color of your texts. It might be useful to include this in your Figma style guide.
2.11 Add Your Form Styles
To go even further and have a well-optimized style guide, you can add your form elements along with their designs.
2.12 Bonus: Add Logos and Icons
This final step involves adding the logo(s) and the icons in SVG format to ease the developer's task in Webflow.
3. Figma Style Guide Template for Optimized Webflow
Here is a template for a Figma style guide optimized for the development of your Client-First website. Of course, you can duplicate your style guide and customize it for all your projects.
Now you know how to create your style guides for your Webflow projects using Figma. If you need assistance in building your Webflow site, feel free to contact our agency.
.webp)

.jpg)

